How to Install a Dome Camera in a Ceiling Tile
Important: Ceiling tiles have different weight tolerance limits based on their size and thickness. If the camera is too heavy, then you will need to either have the weight held up by a harness, strap tied to the true ceiling, or you can put a wood plank across the grid to support the camera's weight. Ceiling tiles sized 2x2 or 2x4 with minimum thickness of 5/8” can be used with insulation weighing up to 0.26 lbs per square foot. B. Ceiling tiles sized 2x2 with minimum thickness of 3/4” can be used with insulation weighing up to 0.5 lbs per square foot. Please check the weight tolerance of your ceiling tile and the weight of your camera before mounting. You don't want your ceiling falling down on anyone.
In this guide we will be installing The Observer Pro 6.0 - a panoramic dome camera - in a ceiling tile.
Step 1: Remove the Ceiling Tile

Step 2: Center the Camera in the Tile

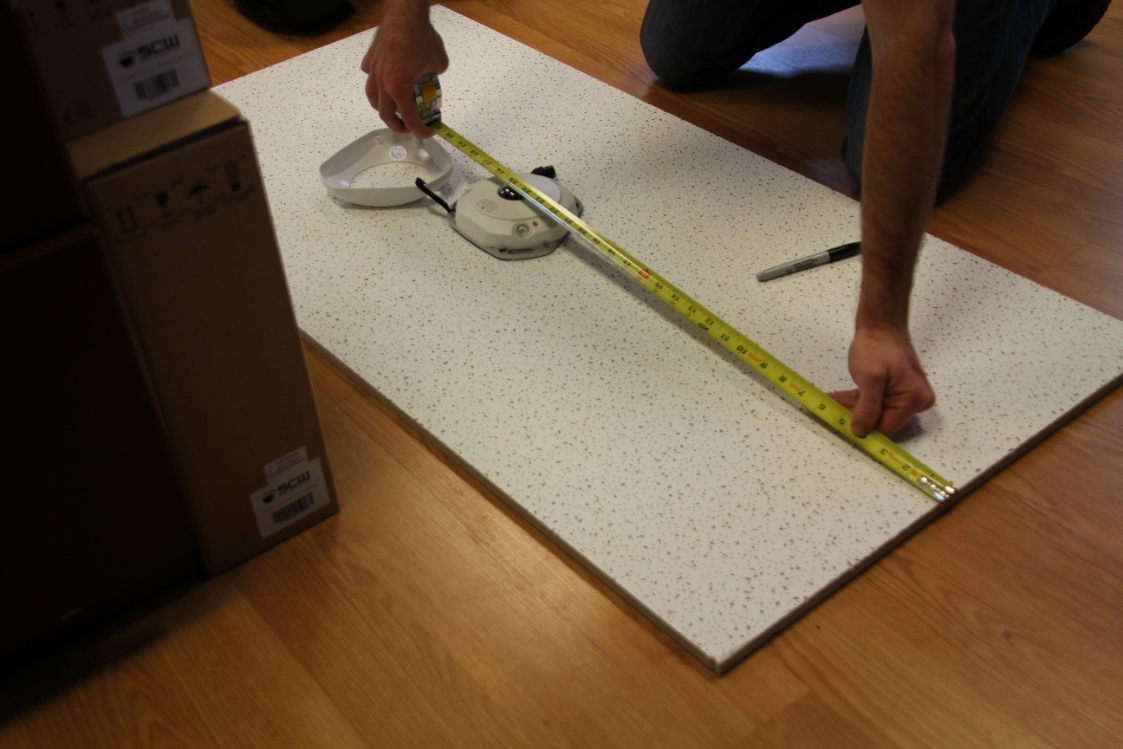
Step 3: Mark the Drill Holes

Step 4: Drill the Holes

Step 5: Cut a Snug Hole for the Cabling


Step 6: Push the cabling through the Hole

Step 7: Push the Screws through the Drill Holes

Step 8: Attach the Toggle Bolts and Tighten


Step 9: Aim the Camera Lens, Snap the Outer Case Back On, and Screw in the Outer Waterproof Case
Note: The Observer's lens does not require positioning as it shoots in 360 degrees, but the Guardian and Warden will require you to position the lens, now would be an excellent time to do that. Here's a video explaining how to position the lenses for each of those cameras.

Step 10: Run the Cable, Starting from the Hardest part to Wire (usually where the wire needs to change directions at the base of the wall)

Step 11: Remove as Many Additional Ceiling Tiles as Necessary so that You Can Throw the Cable When You Need it to Go
You can make this process easier by wrapping the cable at the end to give it some weight.

Step 12: Attach the Cat5 Cable
This one cable provides power and video for your cameras.

Step 13: Put the Ceiling Tile Back in Place


Make sure that you haven't snagged the cable between the ceiling tile and the frame.

Step 14: Plug the Camera into your NVR
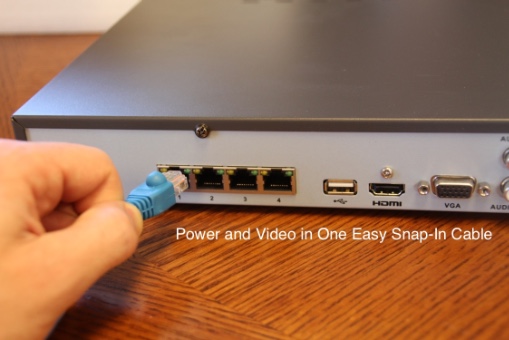
Step 15: Test your camera
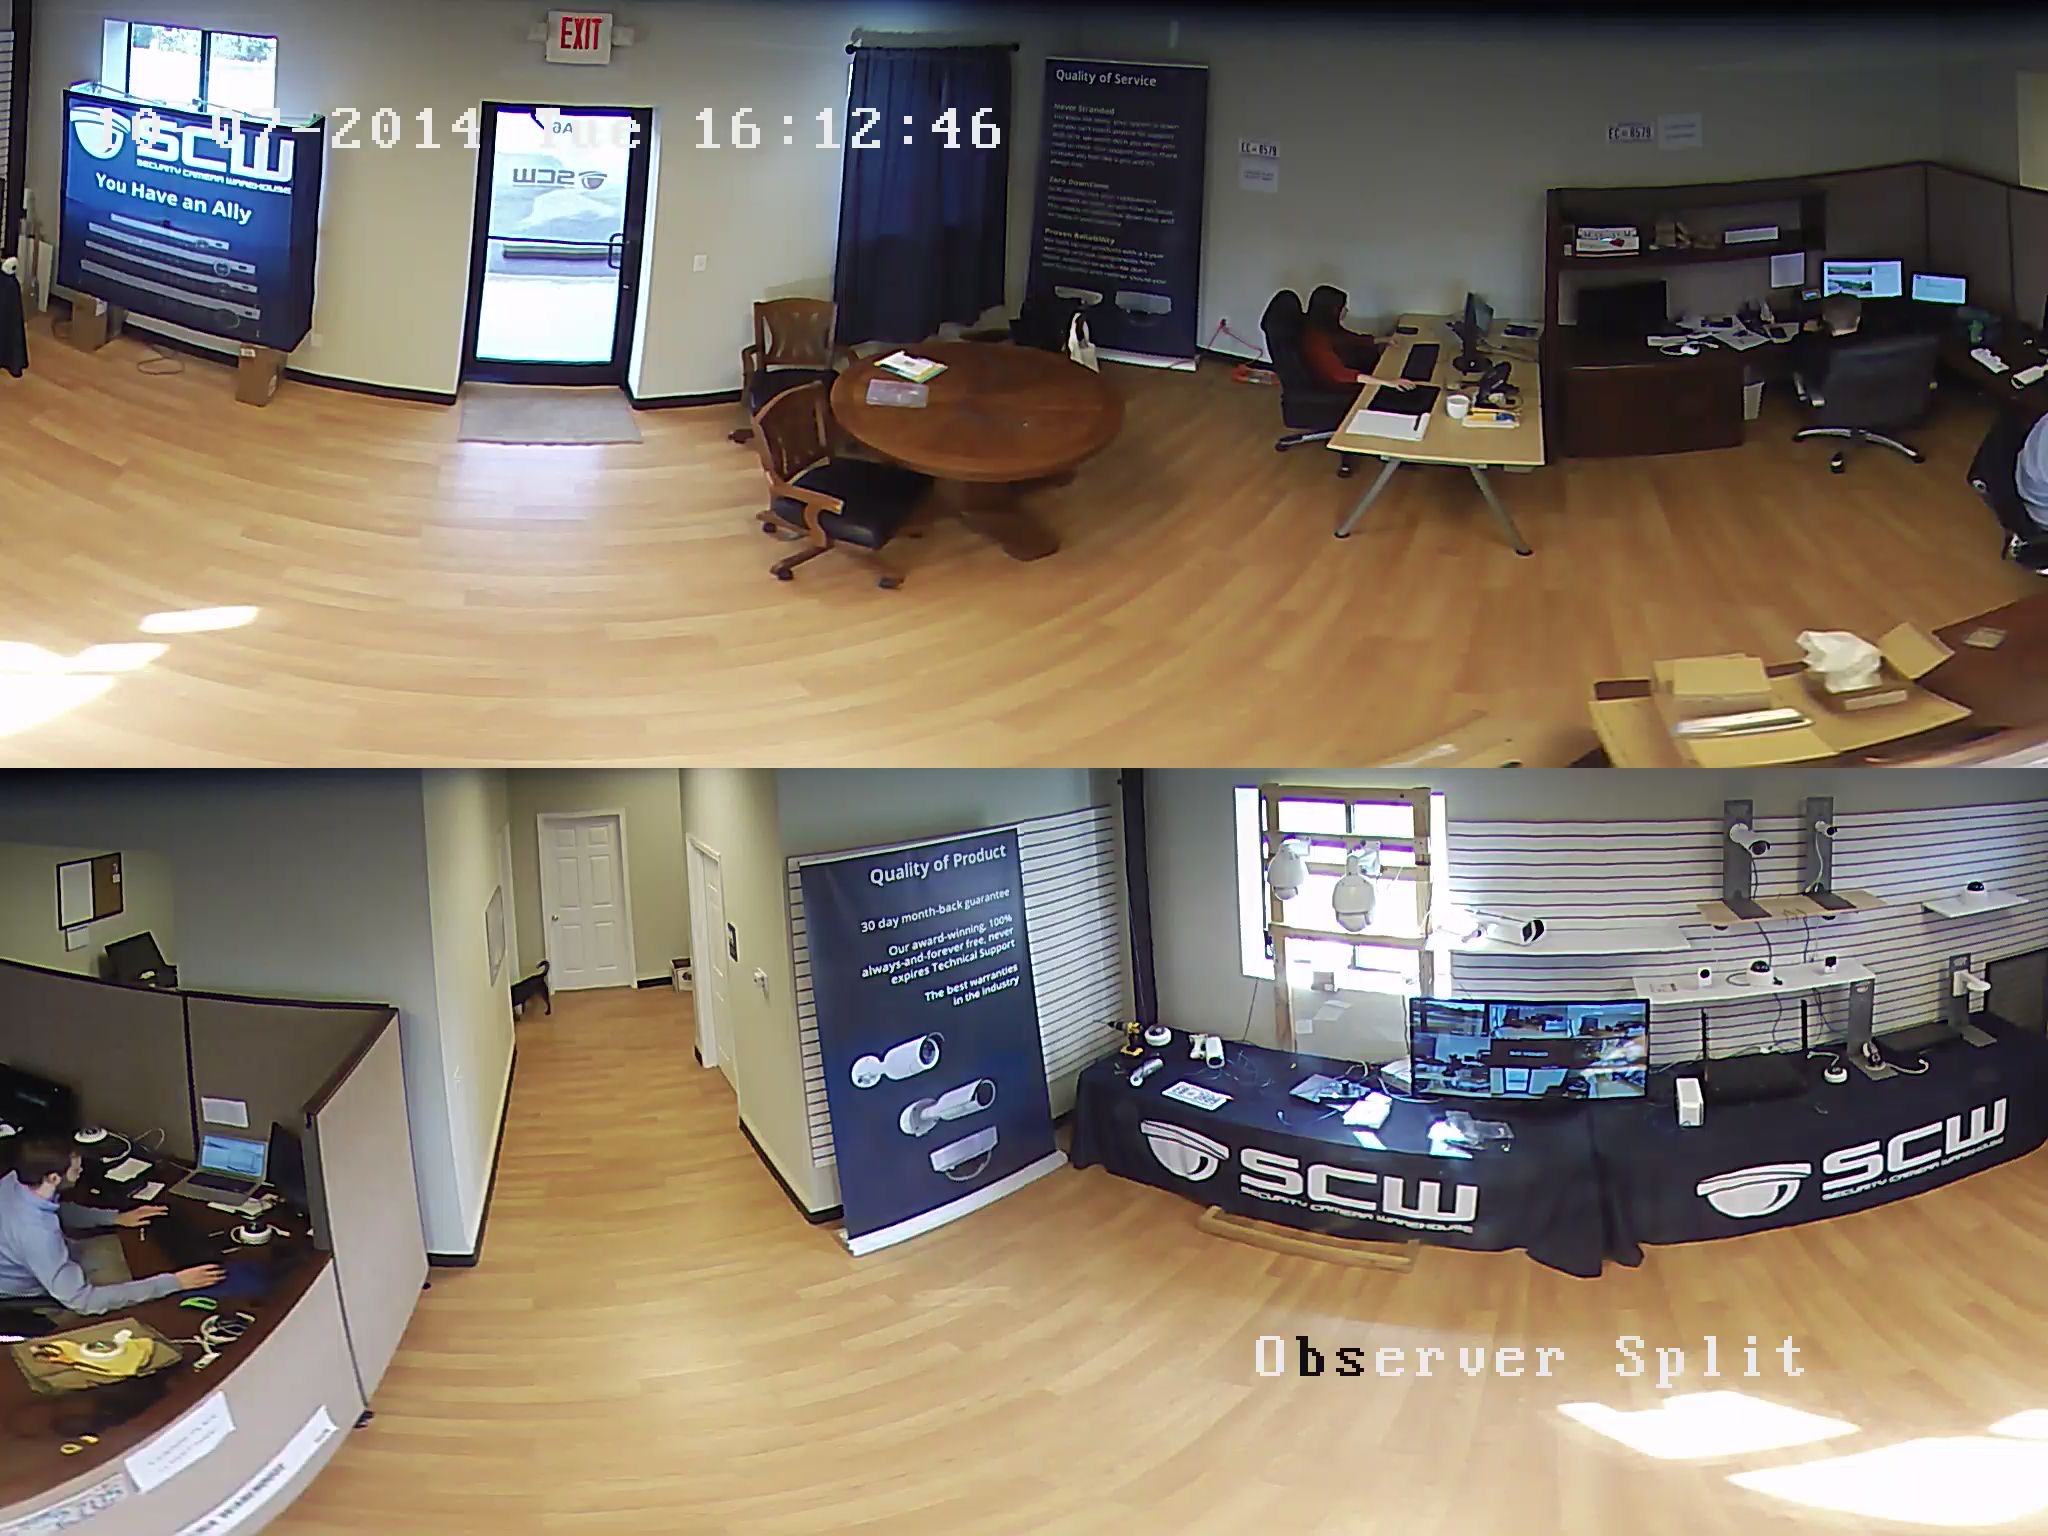
The Observer is a speciality dome camera. It has a single 360 degree lens, but uses 5 slots in your NVR. The software on the Observer takes this one view, which looks like this:
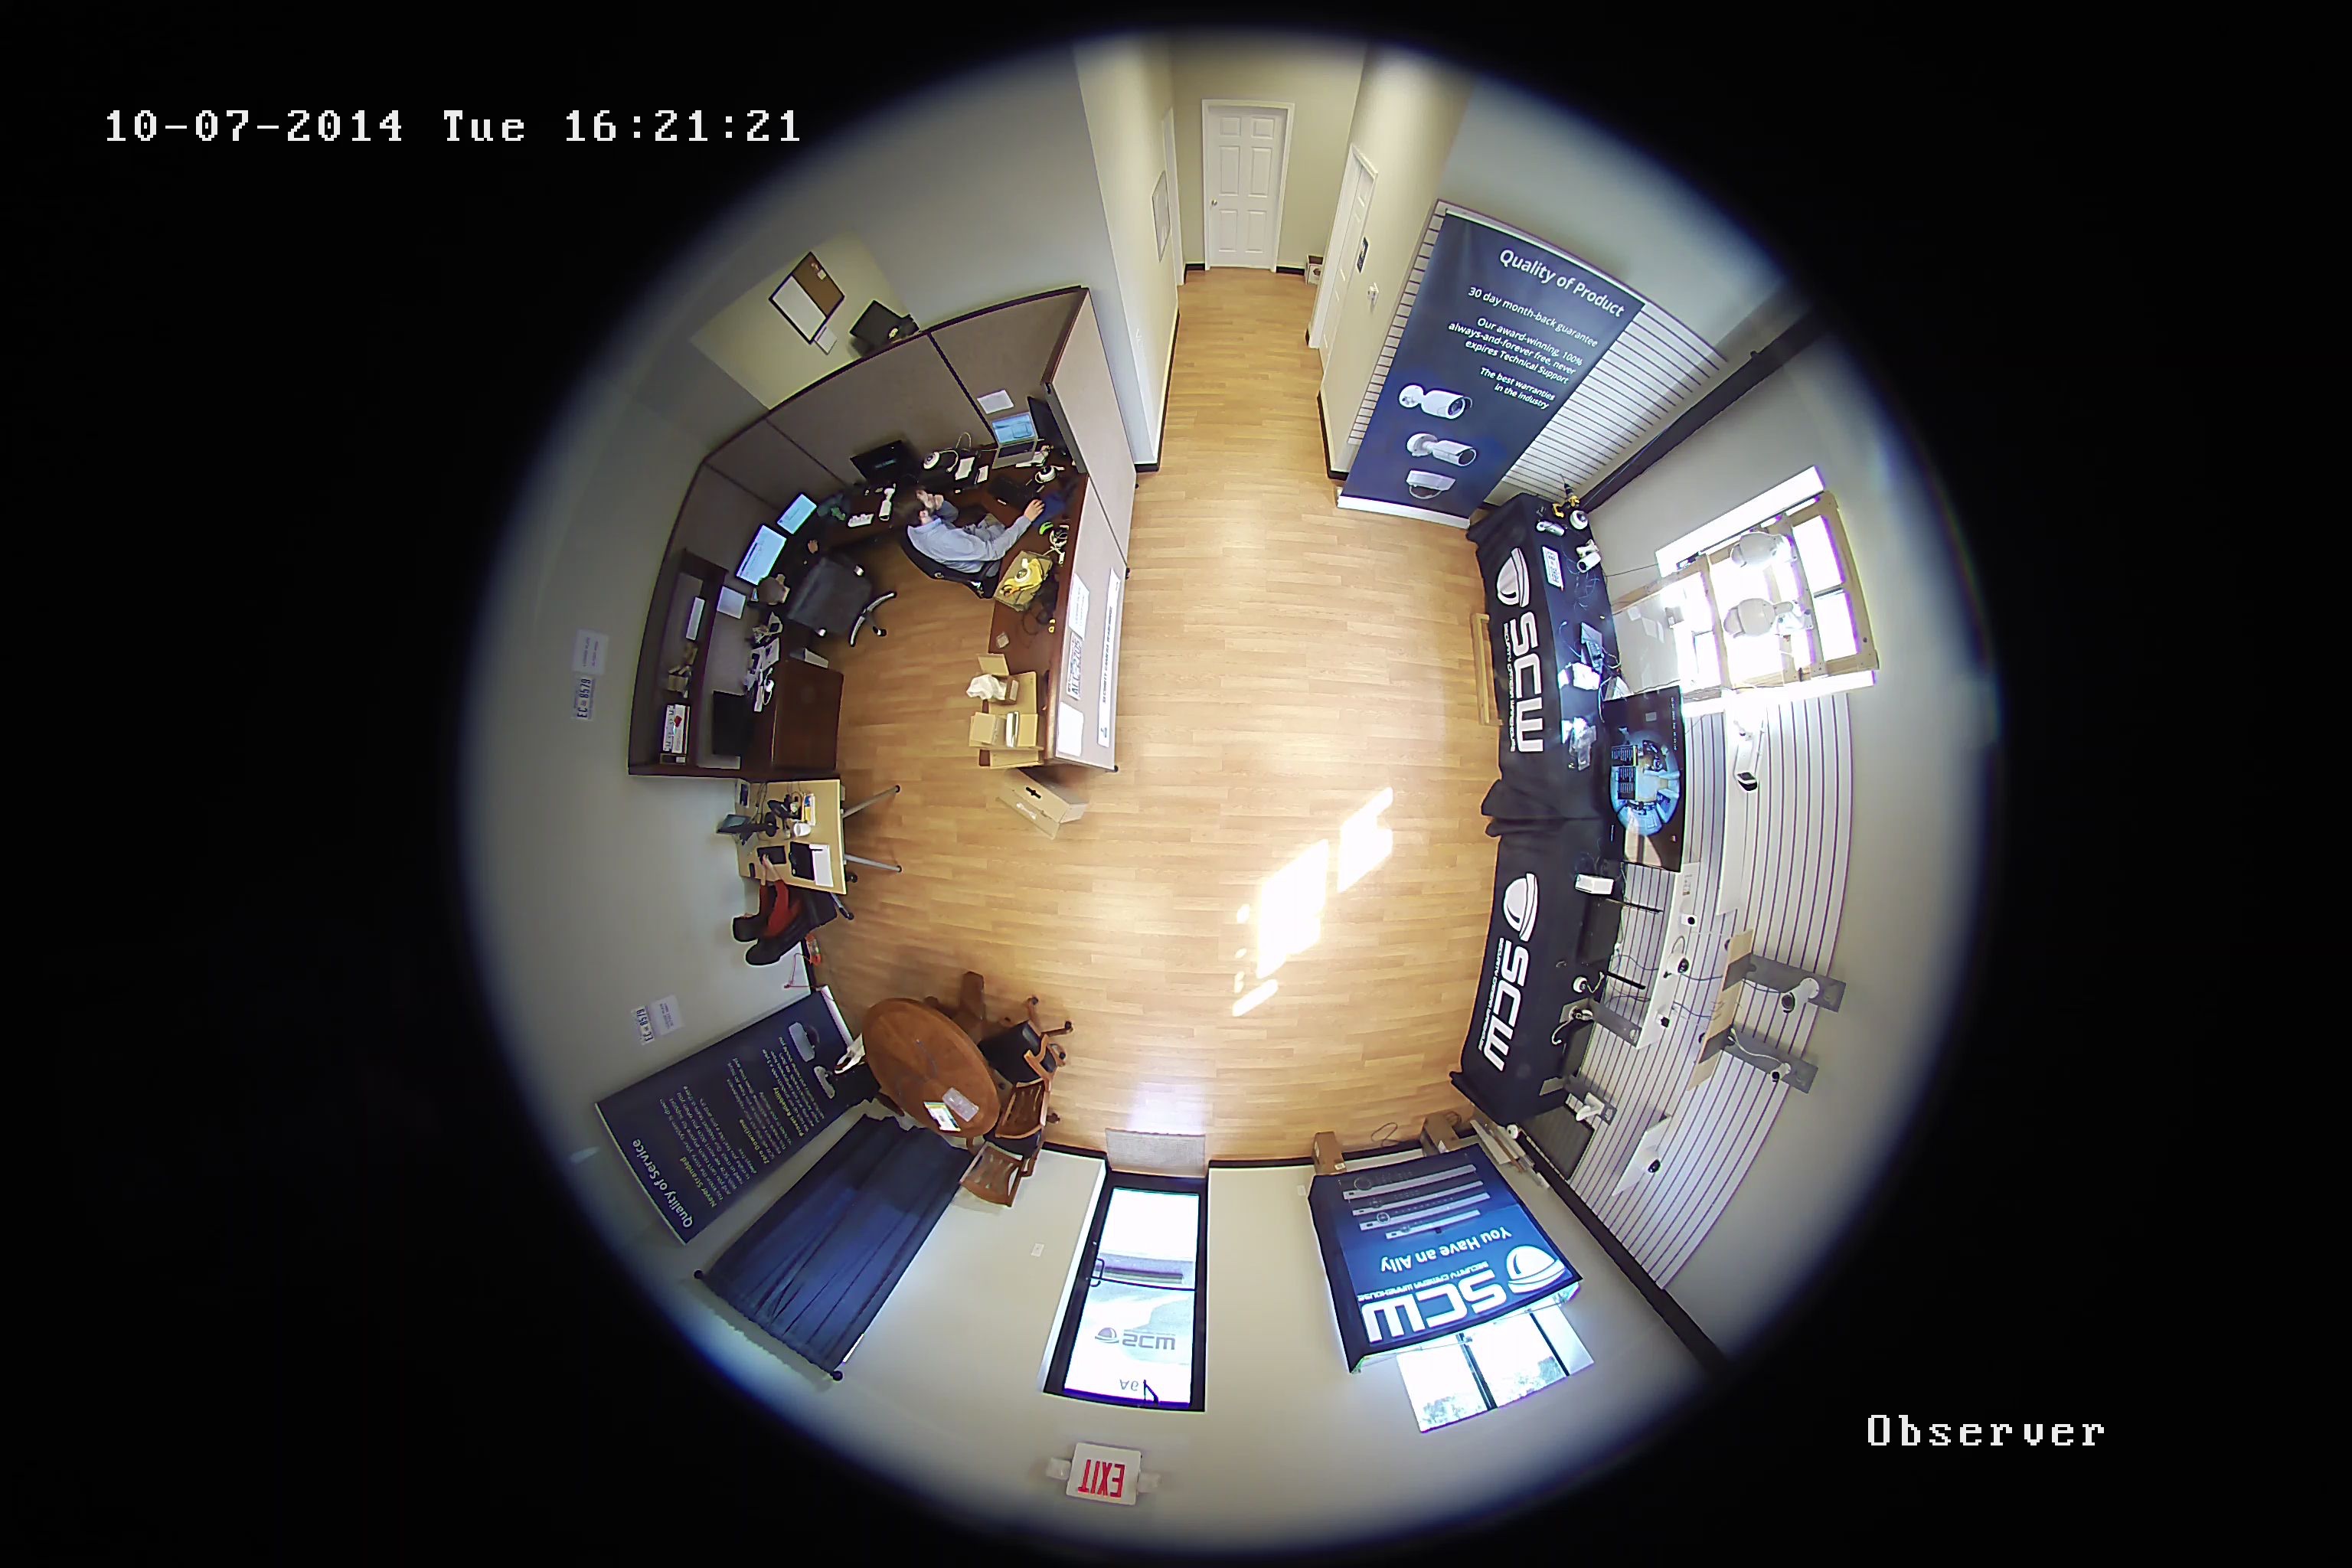
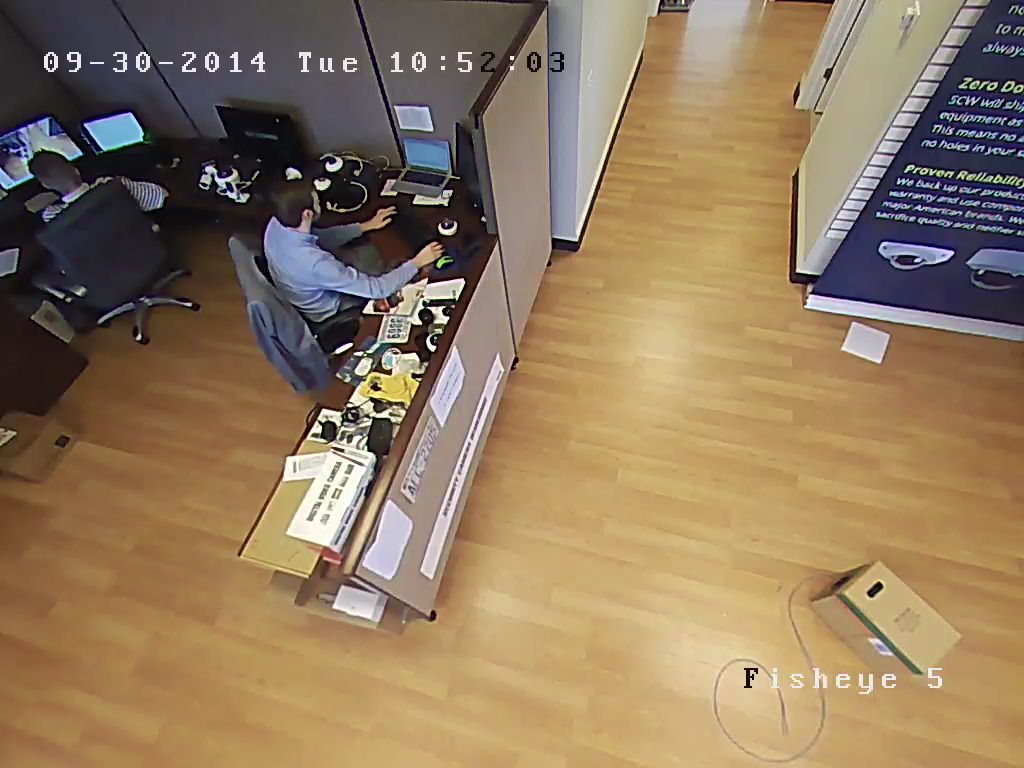
And turns that into five views from 5 directions at the same time. They look like this:
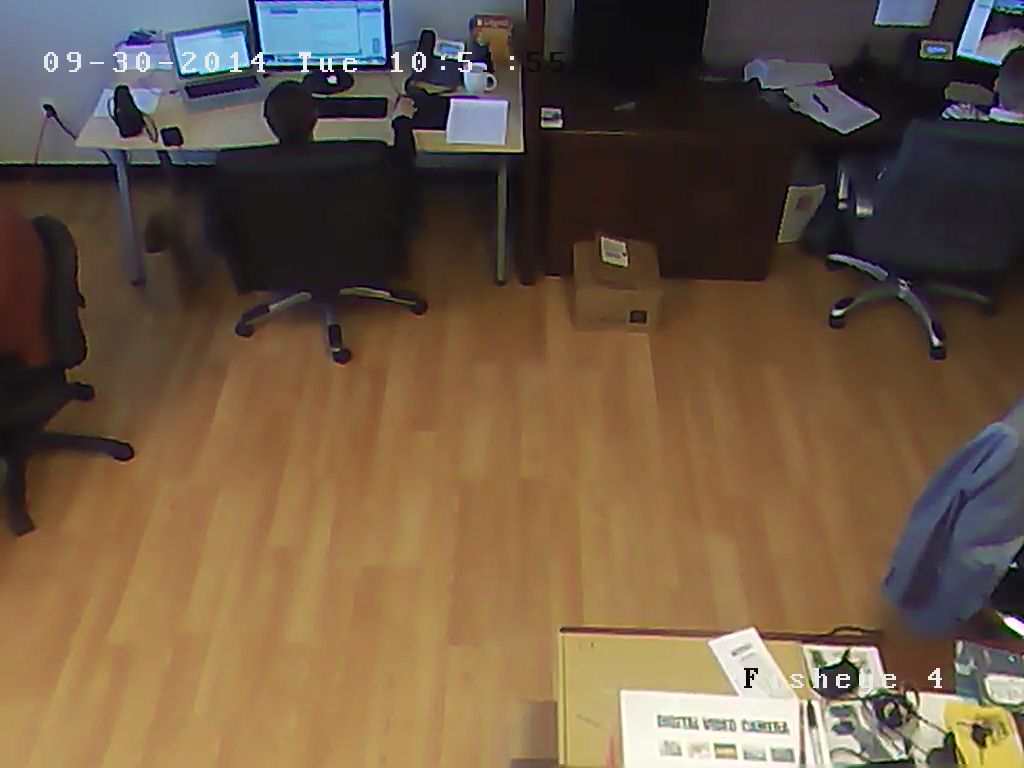
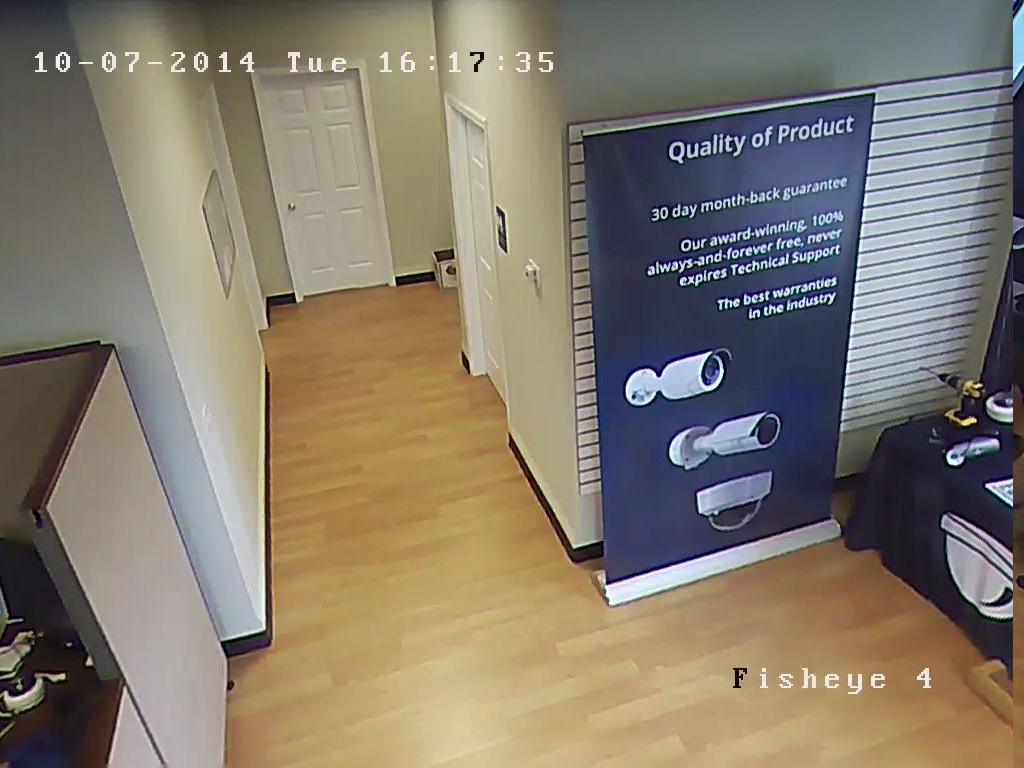
Step 16: Congratulations, You've Successfully Installed a Dome Camera in a Ceiling Tile

This guide is applicable for these models: Deputy 2.0 - 26DF2, Deputy 4.0 - 26DF4, Deputy 8.0 - 26DF8, Sheriff 4.0 - 26DF4-IK10, Detective 4.0 - 26DV4, Informant 4.0 - 26DF4-A, Judge 8.0 - 26DV8, Radius 12.0 - 26P8, Guardian Pro 2.0 - 41220, Guardian Pro 3.0 - 41230, Guardian Pro 4.0 - 41240,Marshall Pro 2.0 - 41420, Marshall Pro 4.0 - 41440, Mosquito Pro 3.0 - 41330, Mosquito Pro 4.0 - 41340, Scout Pro 4MP - 41460, Captain IntelliPro 3.0 - 42430, Thunderbolt 4K IntelliPro - ID08V2812MI, Raptor 12MP IntelliPro - ID12V2812MI, The Observer Pro 6.0 - 48060, Patriot 511 and Recon 521.
