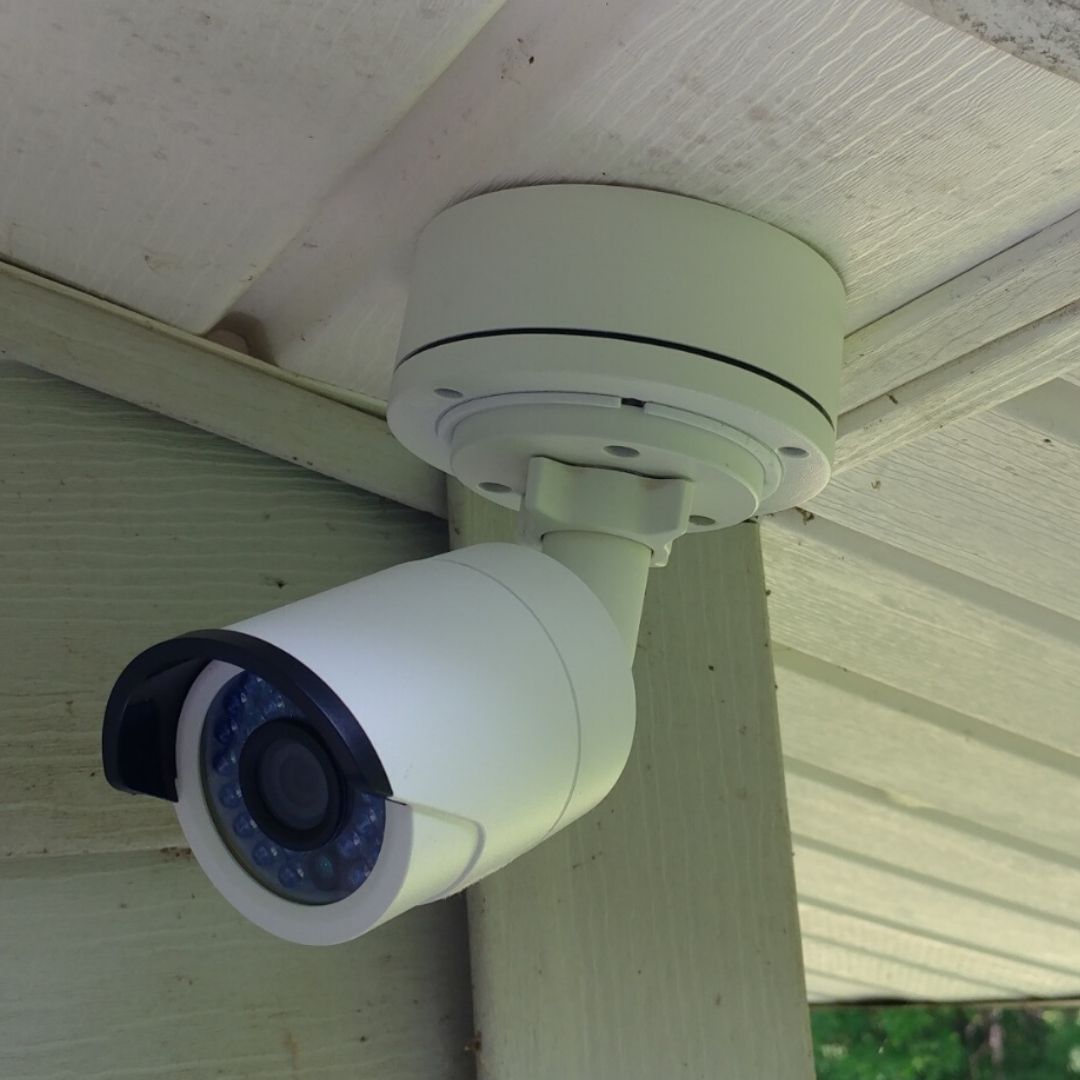
Installation Guide: Installing a Bullet Cameras on a Soffit
New to security camera installation? Don't worry, doing it yourself doesn't have to be intimidating! Before you begin installing your new bullet camera, the SCW team wants to make sure you have all of the resources you need. Take a look at these six steps for a quick and easy installation process. Remember, if you run into any issues, our team of security experts are here to help!
Video Overview
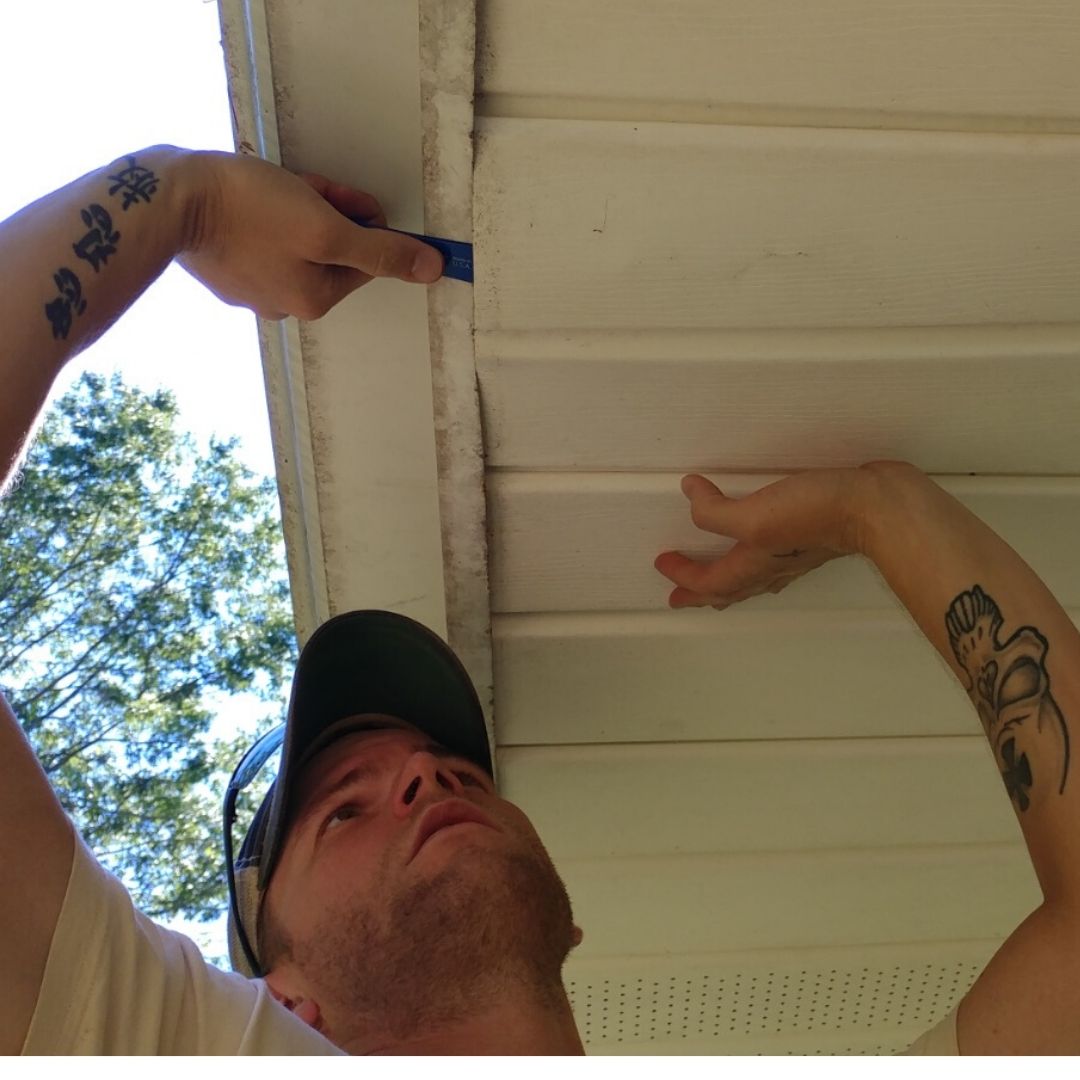
Step 1: Pry Soffit away from Fascia
Slide the soffit back towards the house and use a non-marring pry tool to remove the section of soffit where you intend to mount the camera.
Check for any obstructions above the soffit.
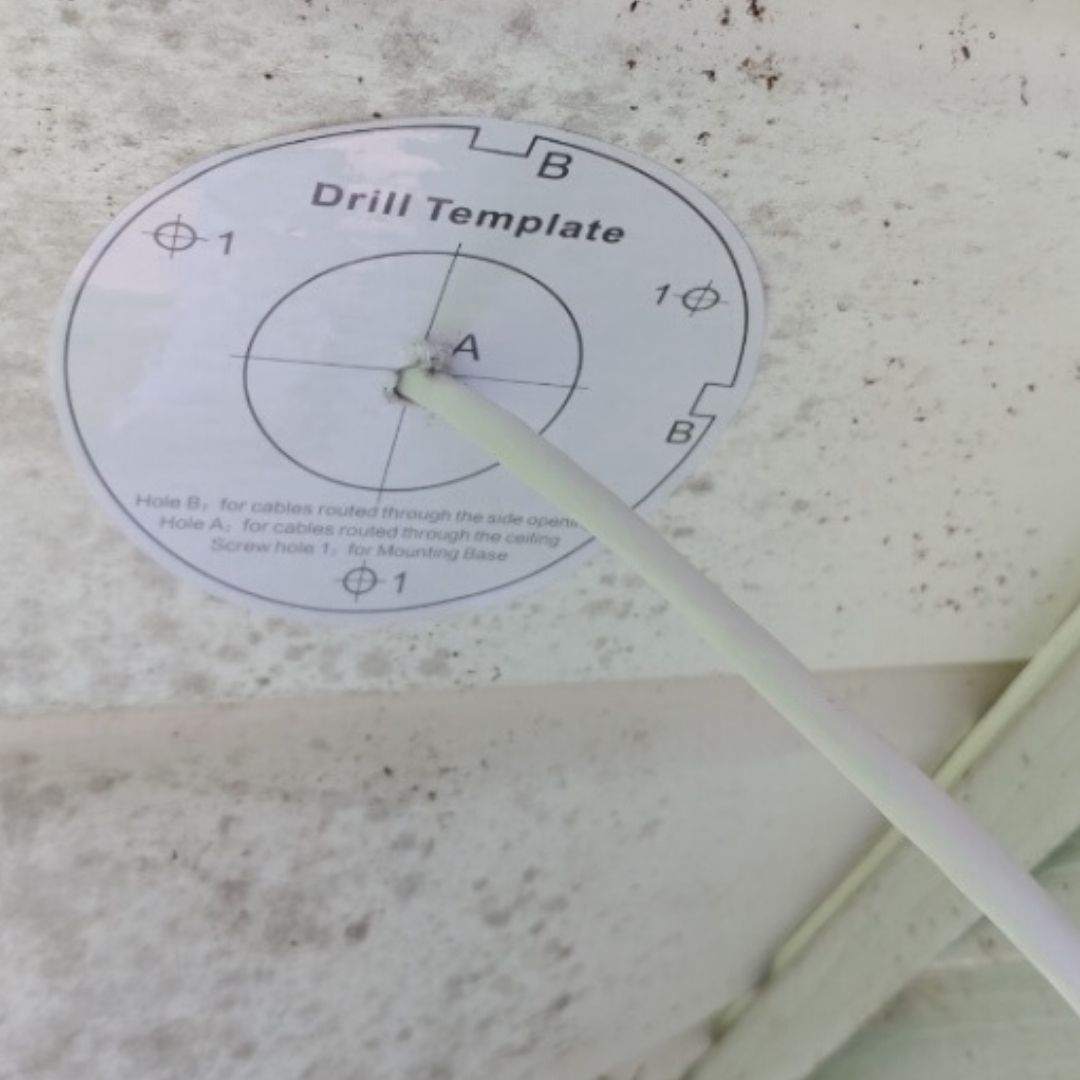
Step 2: Apply Drill Template & Drill Holes
SCW cameras come with an adhesive drill template. Apply this template to the soffit and drill holes for the cable and the mounting screws.
Step 3: Attach Mounting Box using Toggle Bolts
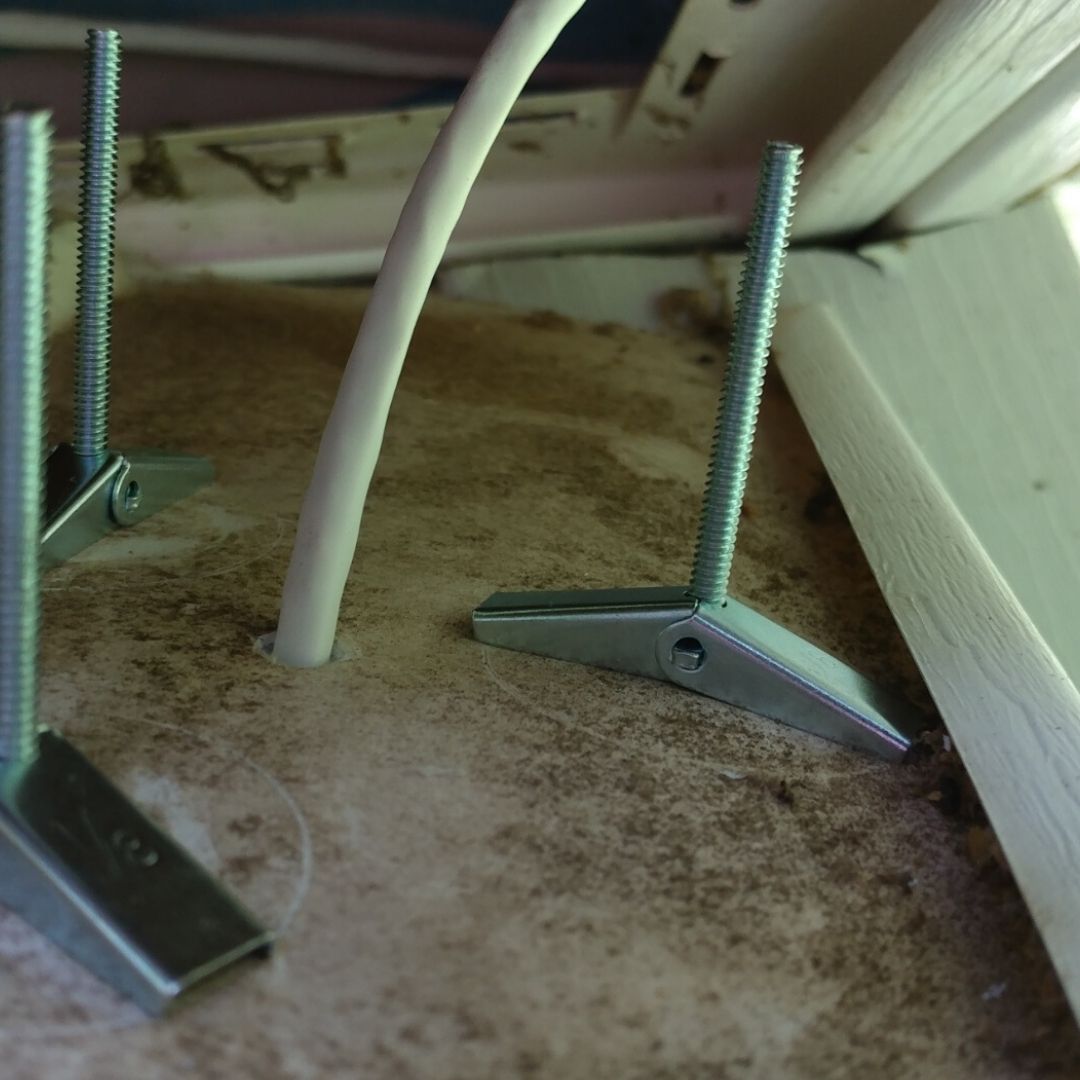
For exterior cameras, we recommend using electrical mounting boxes. These not only make the camera easier to mount, they also allow for a smaller penetration into your structure (since only the cable has to pass through instead of the cable and the bulkier weatherproofing connector (see step 4).
Use toggle bolts to attach the mounting box to your soffit through the holes you have pre-drilled. You may need to hold the anchors in place while tightening the bolts
Step 4: Weatherproof and Crimp Your Cable
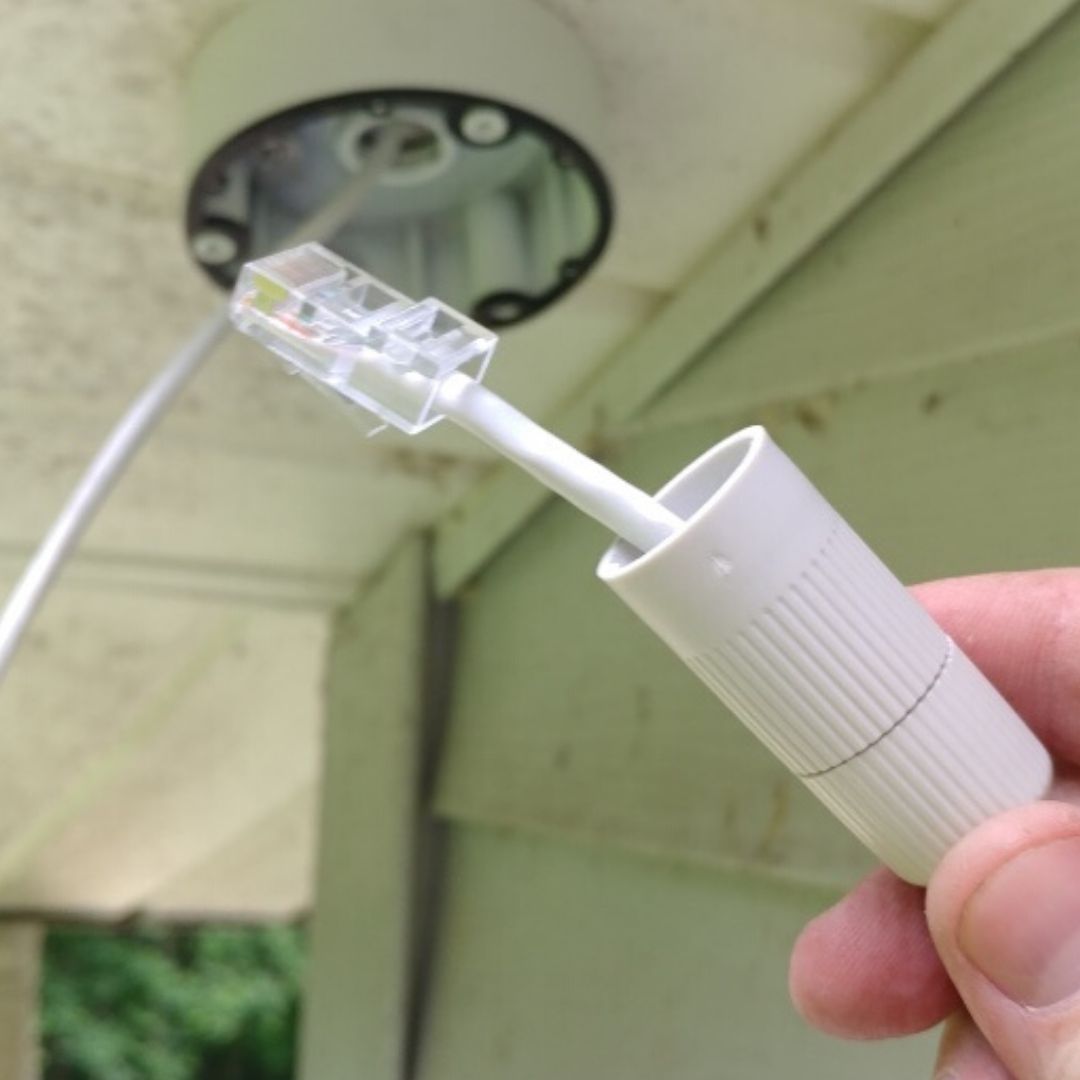
Place the included weatherproof connector onto your cable before crimping.
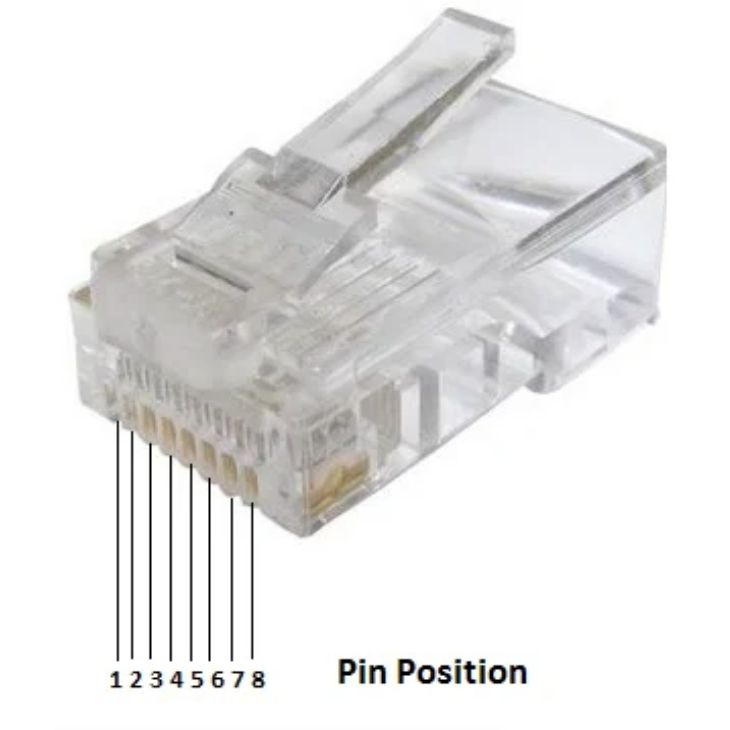
Crimp your cable following the 568B standard. You can review this detailed guide on how to crimp your Cat 5 or Cat 6 cabling here.
Step 5: Attach Camera to Mounting Box
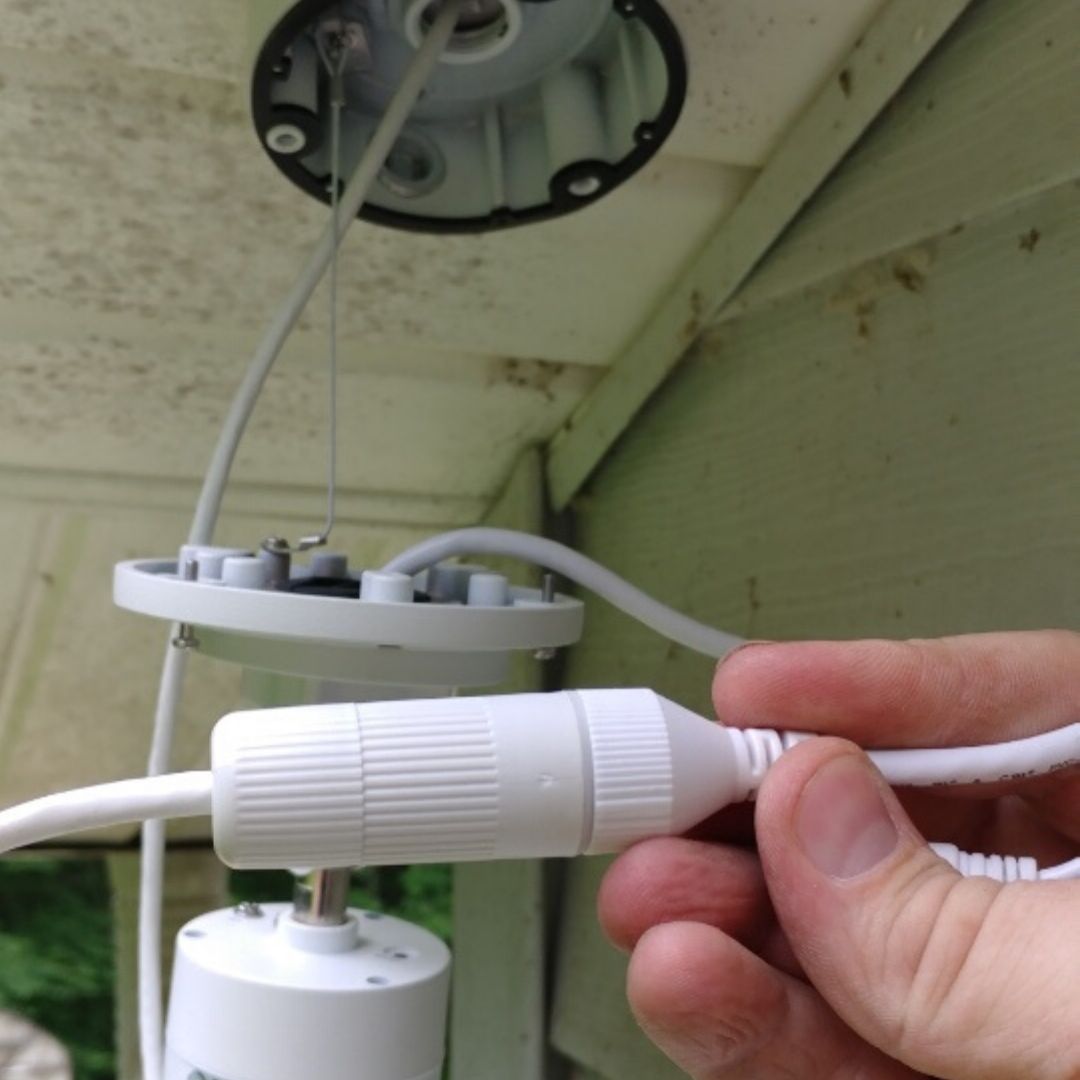
Connect the safety harness and screw the camera to the mounting box
Step 6: You're Done!
That's it. You've just installed a bullet camera on a soffit.
