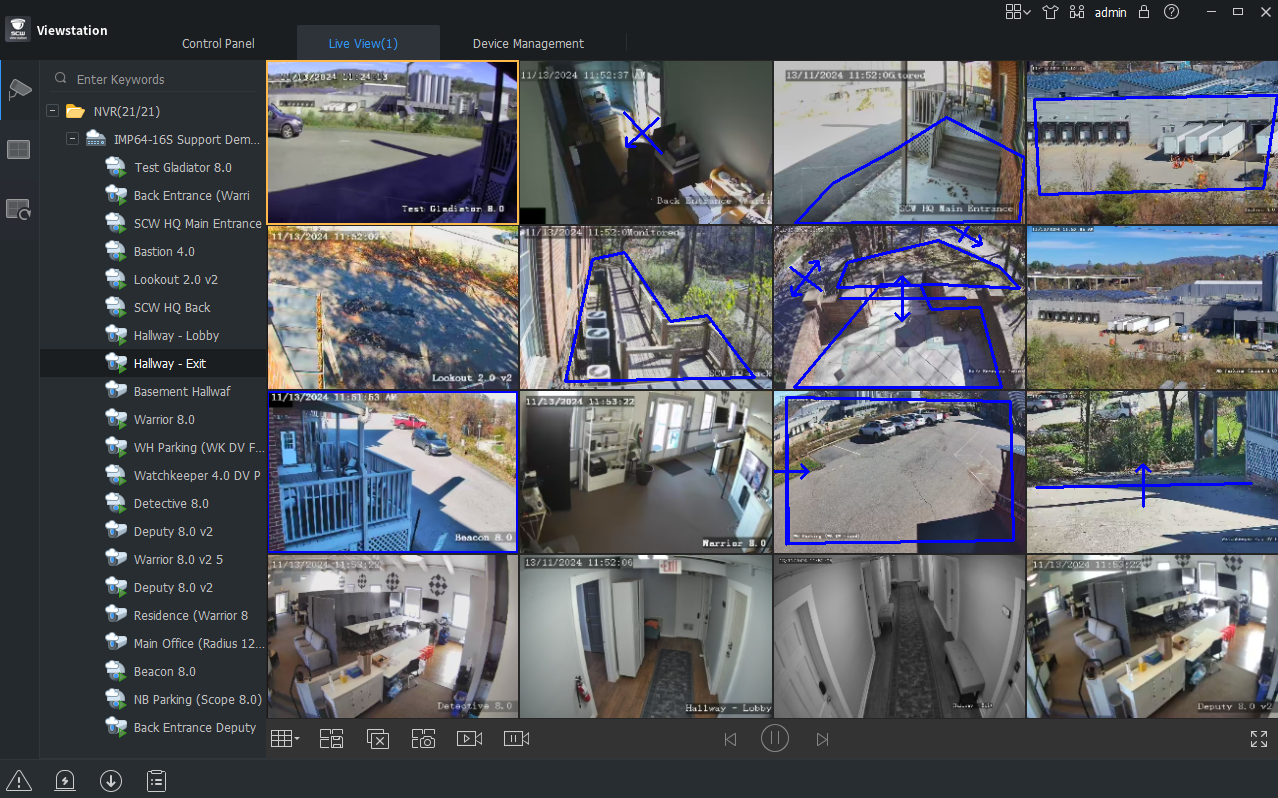
How to Setup Viewstation for Admiral and Imperial Line NVRs
Note: SCW Go and Viewstation work with Admiral and Imperial Line NVRs. This guide assumes you have already downloaded the admiral/imperial line viewing software.
Step 1: Login
After downloading viewstation and installing it, you will be presented with the Create Super Administrator screen.
NOTE: This password is local to each individual install of SCW Viewstation - this password is not shared between Viewstation installations.
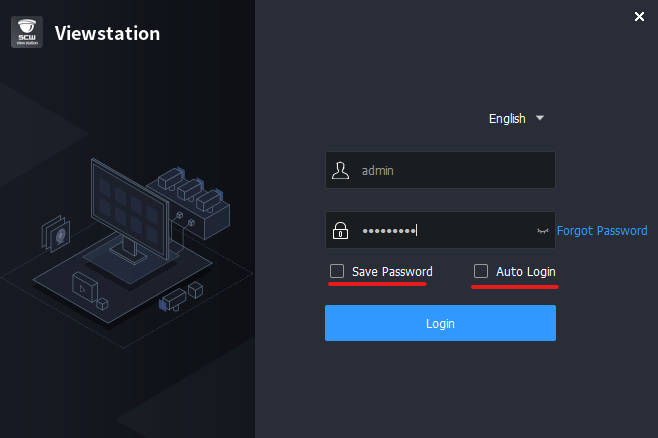
Step 2: Set a Strong Password and Answer Security Questions
This will allow you to reset your Viewstation software password if you ever forget it.
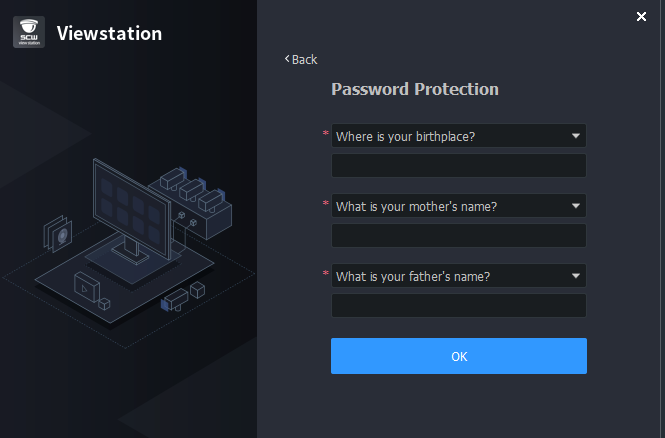
Click OK when finished. You will be presented with Super Administrator Created.
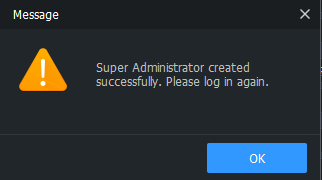
Step 3: Log In to Viewstation
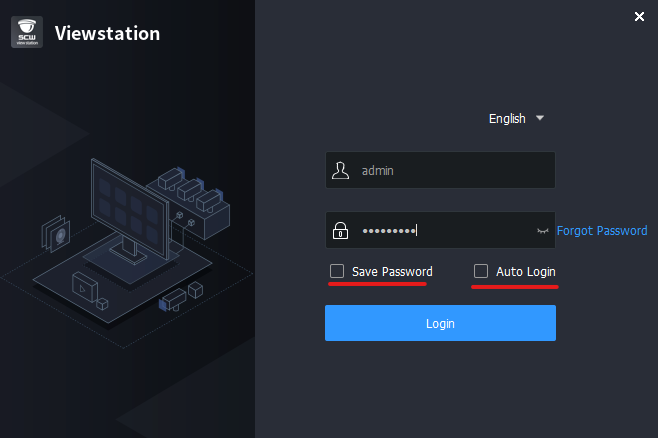
NOTE: Optionally you may select Save Password and Auto Login. This will set Viewstation to log in when you open the software so you do not have to enter your password every time.
When you log in, you will see the Add Device pop-up screen. Local devices will appear on this screen and can be added to SCW Viewstation. Enter the login information for the NVR, select the NVR from the list, and click Add.
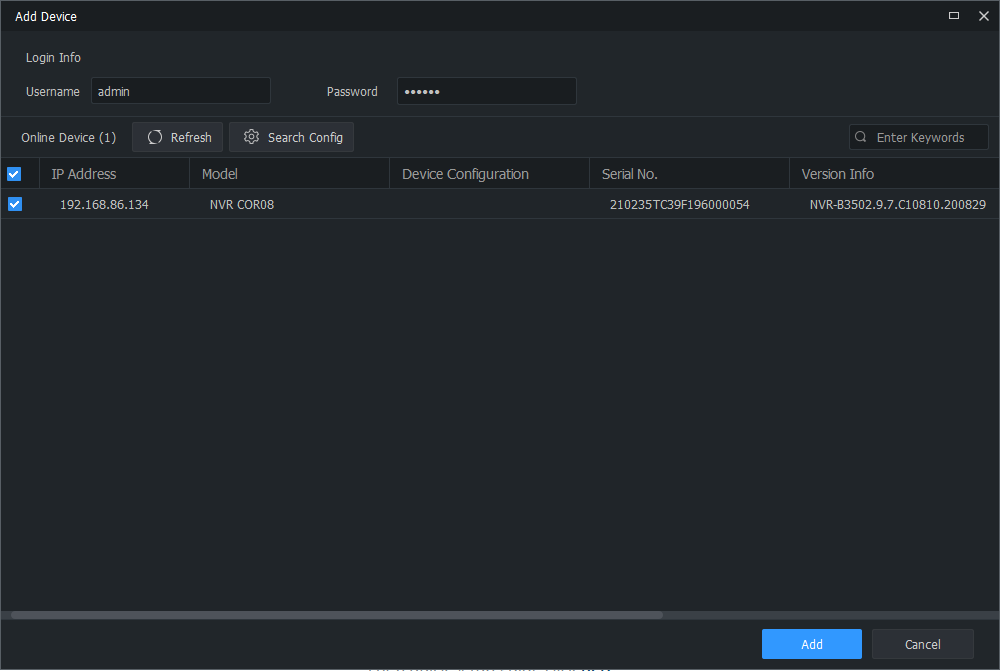
Otherwise, hit Cancel and continue to the Control Panel.
Click on Device Management.
Step 4: Add Device via Cloud
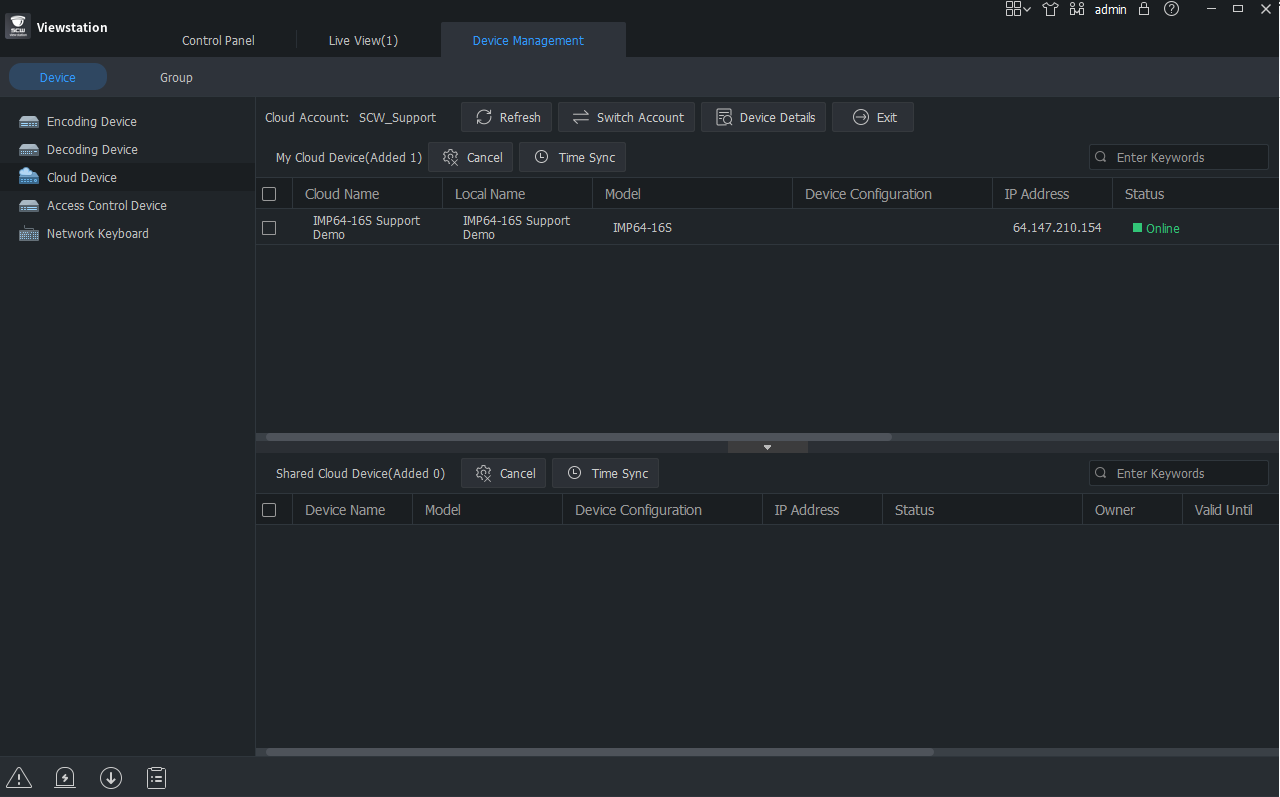
Under Device Management, click Cloud Device on the left.
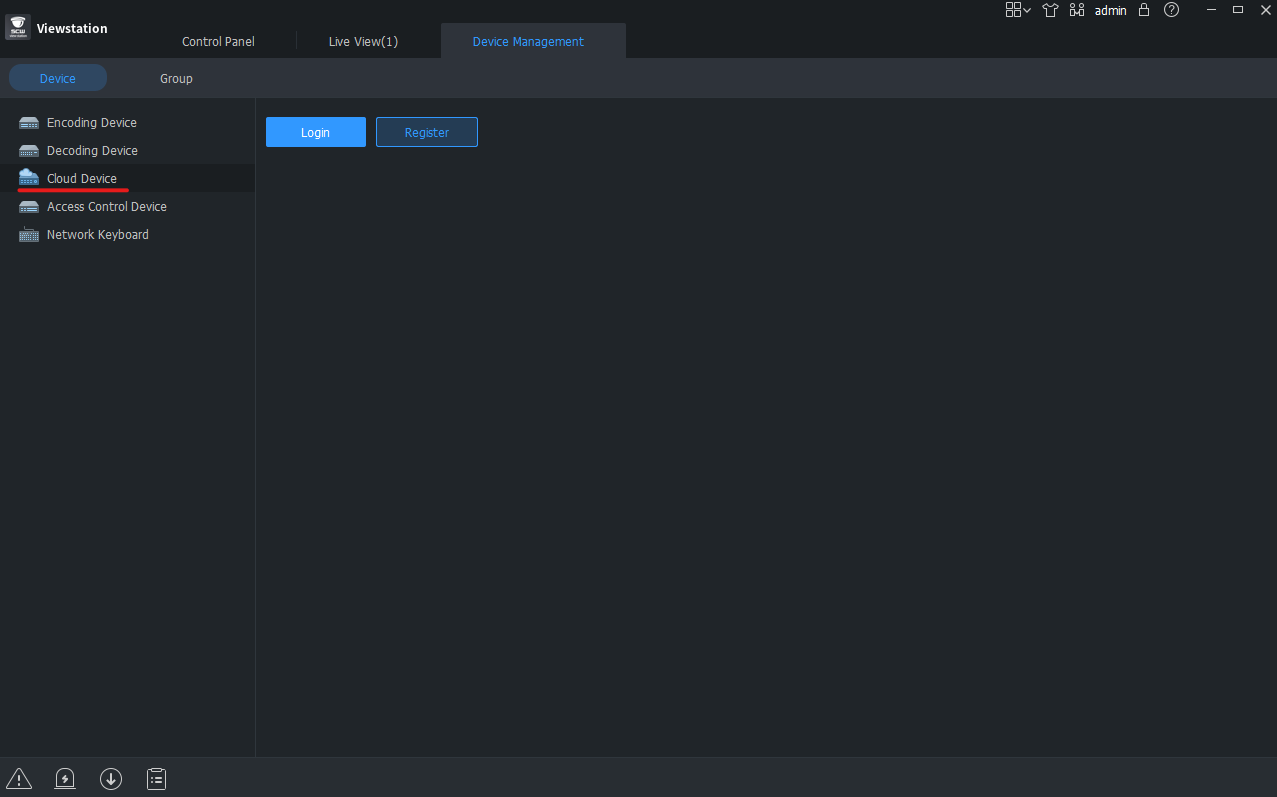
Click Login and enter your email address and password used for your Star4Live or SCW Go account.
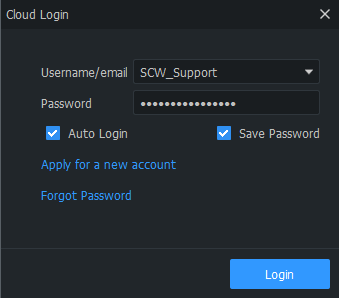
NOTE: Optionally you may select Save Password and Auto Login. This will set Viewstation to log in to your cloud account when you open the software so you do not have to enter your password every time to see your devices.
Your cloud devices will now show online.
Optional Step: Add Device via Local IP
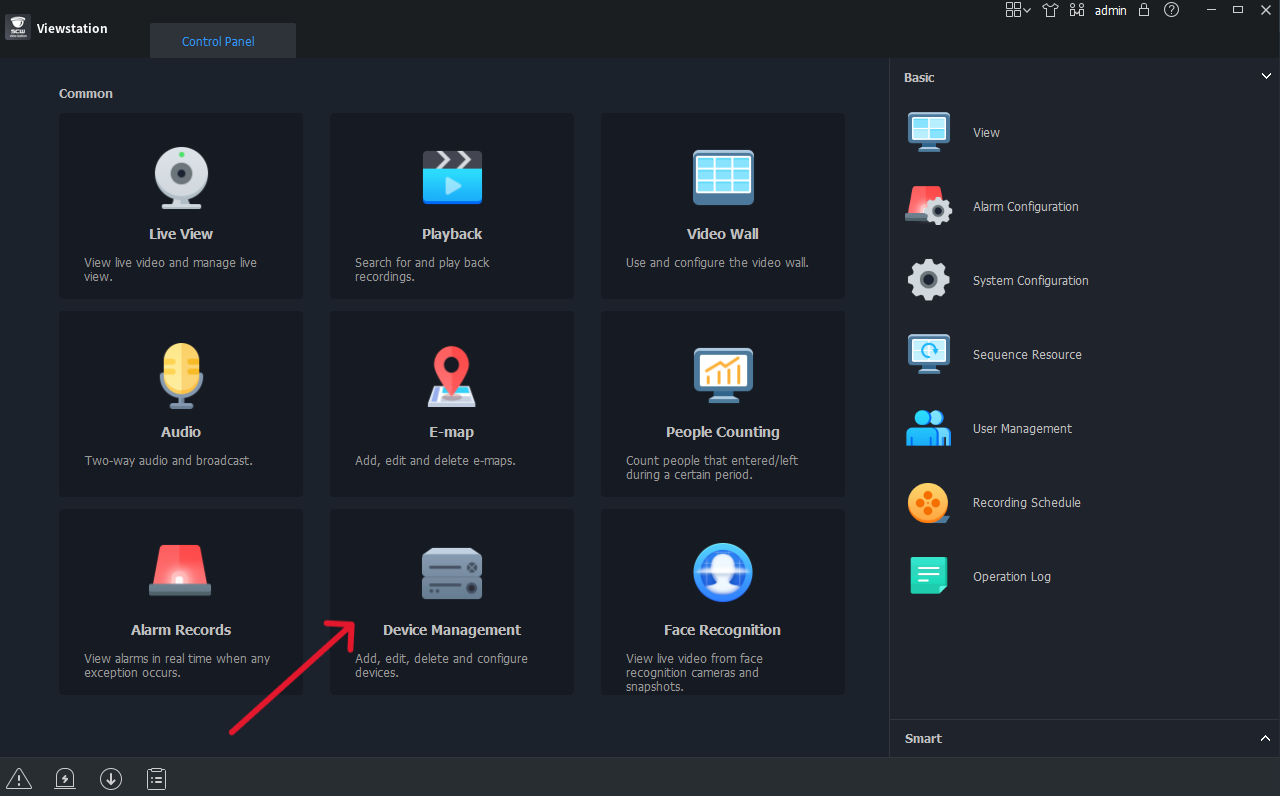
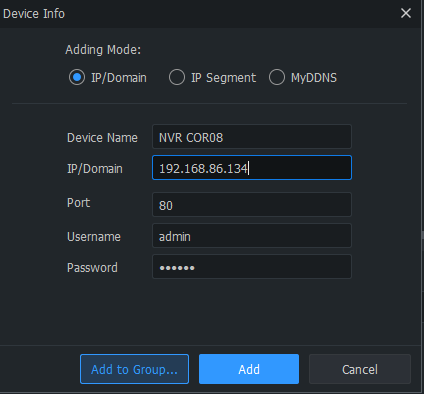
Under Device Management click "Add."

Fill in your IP information, username, and password for your NVR.
If you are looking to set up Viewstation to connect to a remote, off-site system, please follow our SCW Go app setup guide.
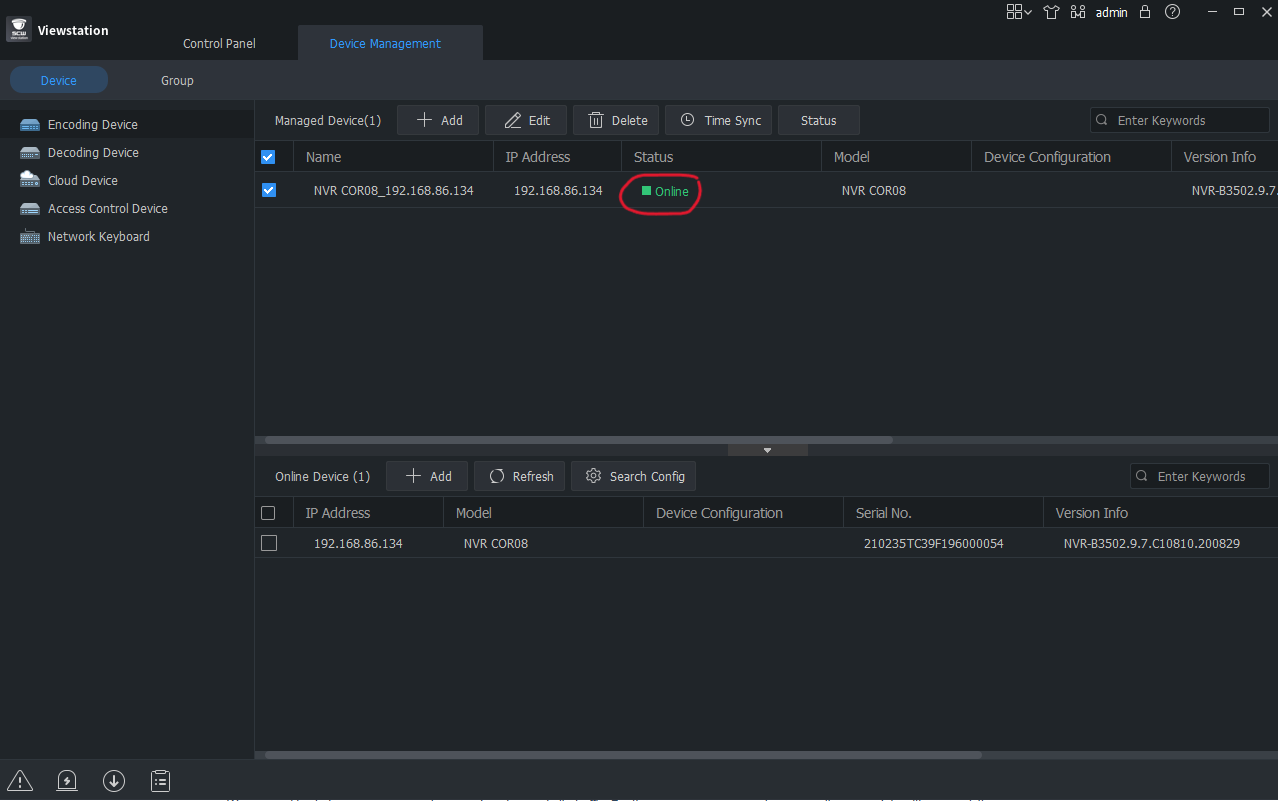
Step 5: Confirm Your NVR is Online
Your NVR should show "Online" under the status.
Step 6: View Your Cameras
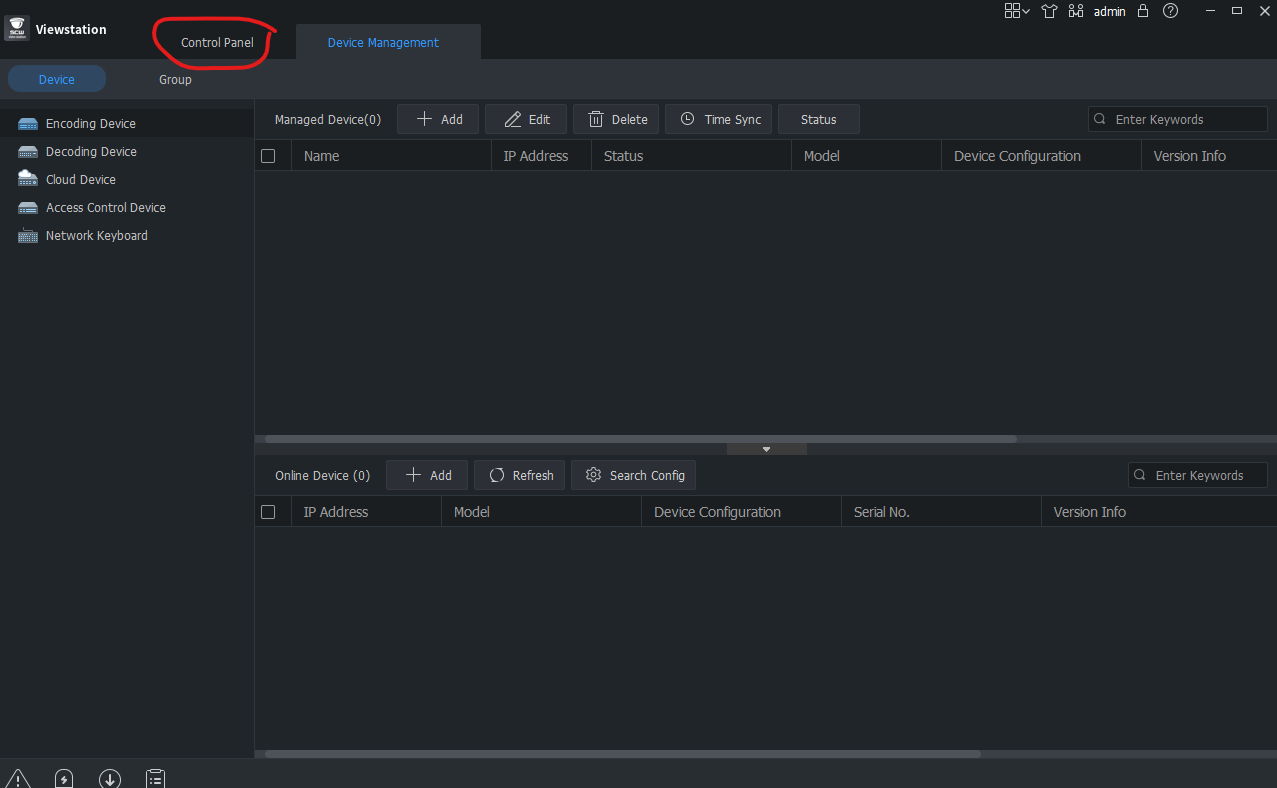
Click the Control Panel button in the top left corner and then click "Live View."
Step 7: Access Live View Screen
On the Live View screen, double-click your NVR folder.
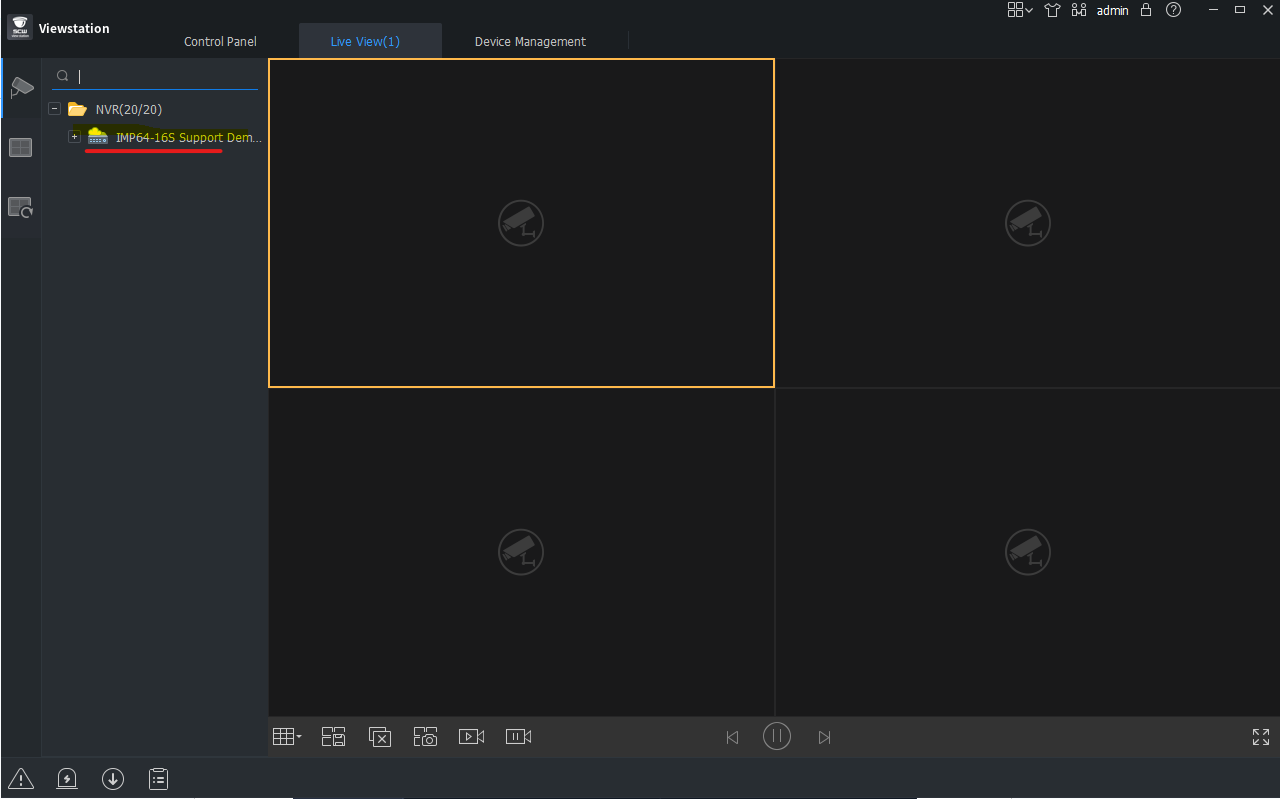
Step 8: Your Cameras are Now Live
