How to Add a Screenshot to Camera Settings in Survail
Picking cameras, remembering which camera is which, setting up exclusion zones, and setting up camera follow zones are significantly easier if you add a screenshot to each camera.
Log In To Survail
You can log into Survail at https://app.survail.com/.

Click the User Icon and then "Config"
At the top right side of the screen, you can see the user icon. After clicking on the user icon, you can choose to edit settings by clicking "Config". This will lead you to the "Camera Settings" page within the Config submenu.
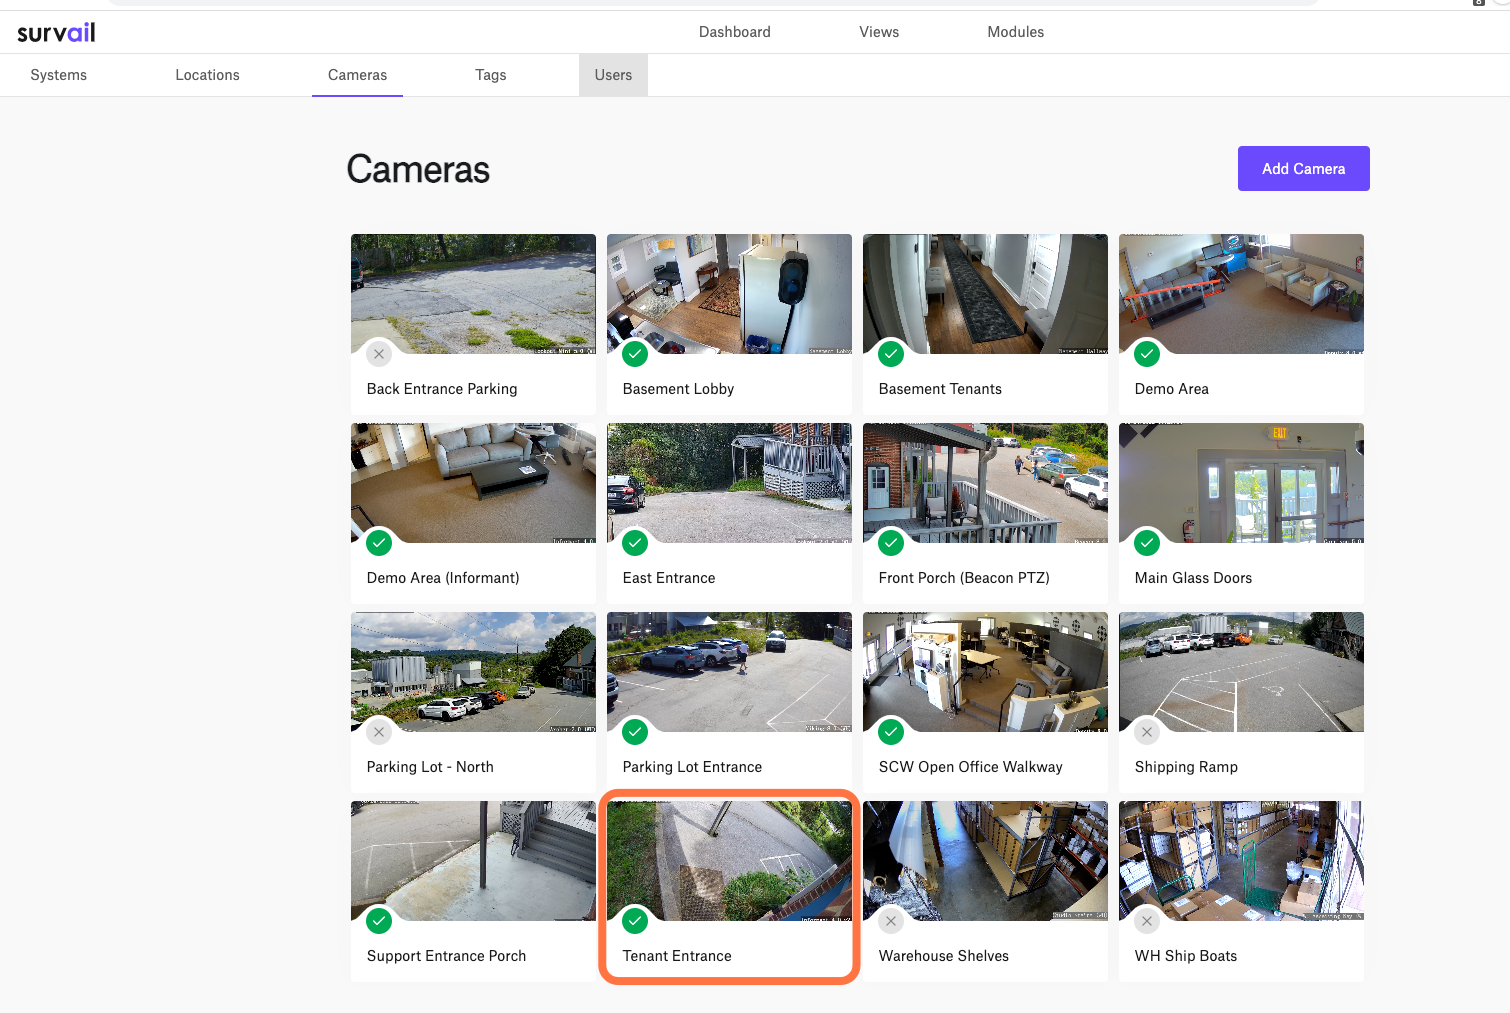
Click on a Camera Card
The entire card is clickable and takes your to that camera's settings detail page. If you are logged out after clicking this, your user account is not allowed to view or edit settings.
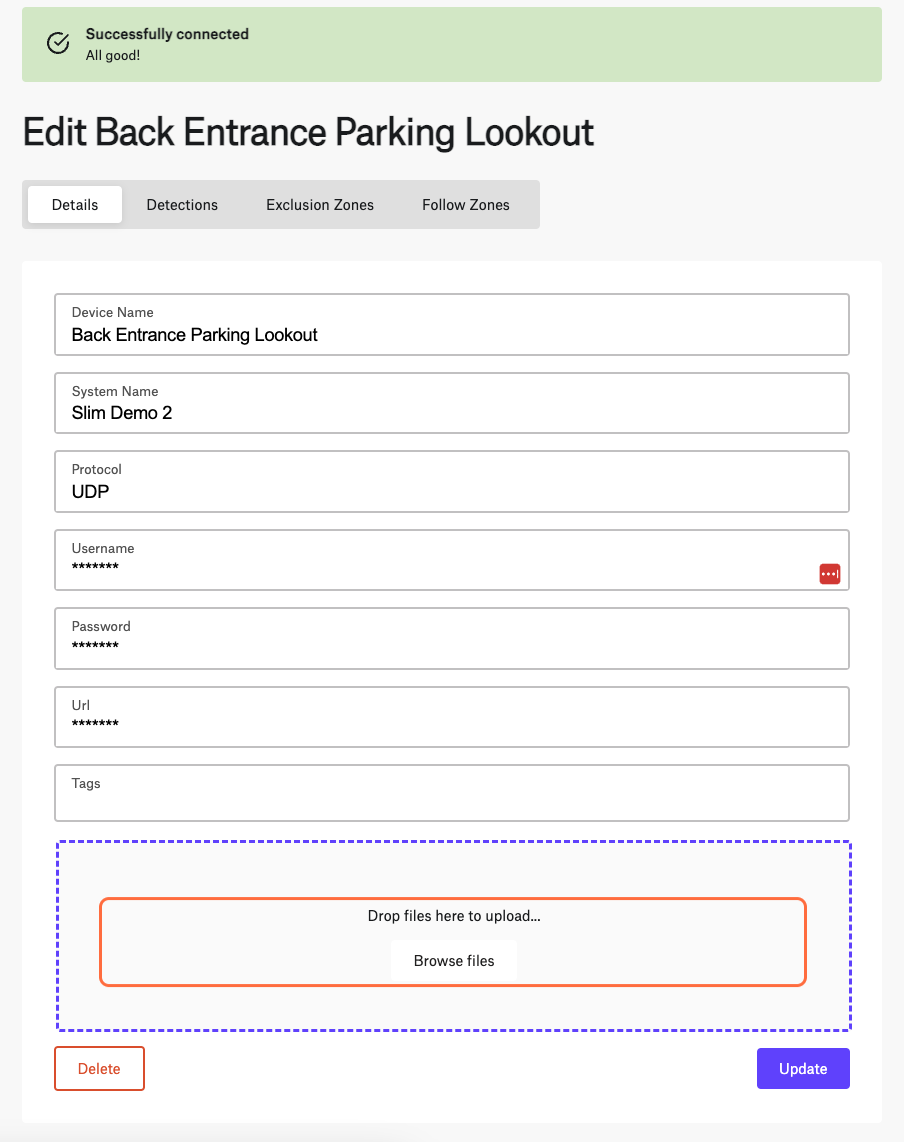
Locate the Camera Screenshot Upload Section
On the camera's settings detail page, you want to locate the screenshot upload section, as highlighted in this screenshot. You can either click on this area to open a file upload dialog box or drag a file directly onto the area to upload.
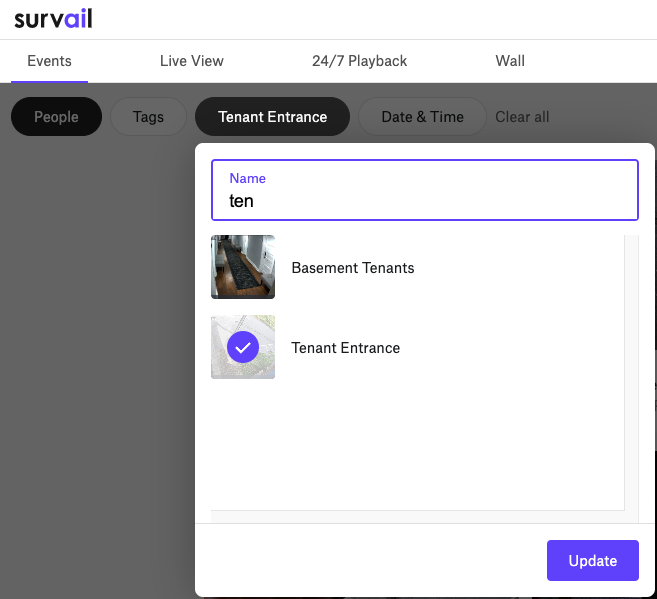
Result: Camera Picker
Screenshots are used in the camera picker UI to help your users be able to remember which camera is which.
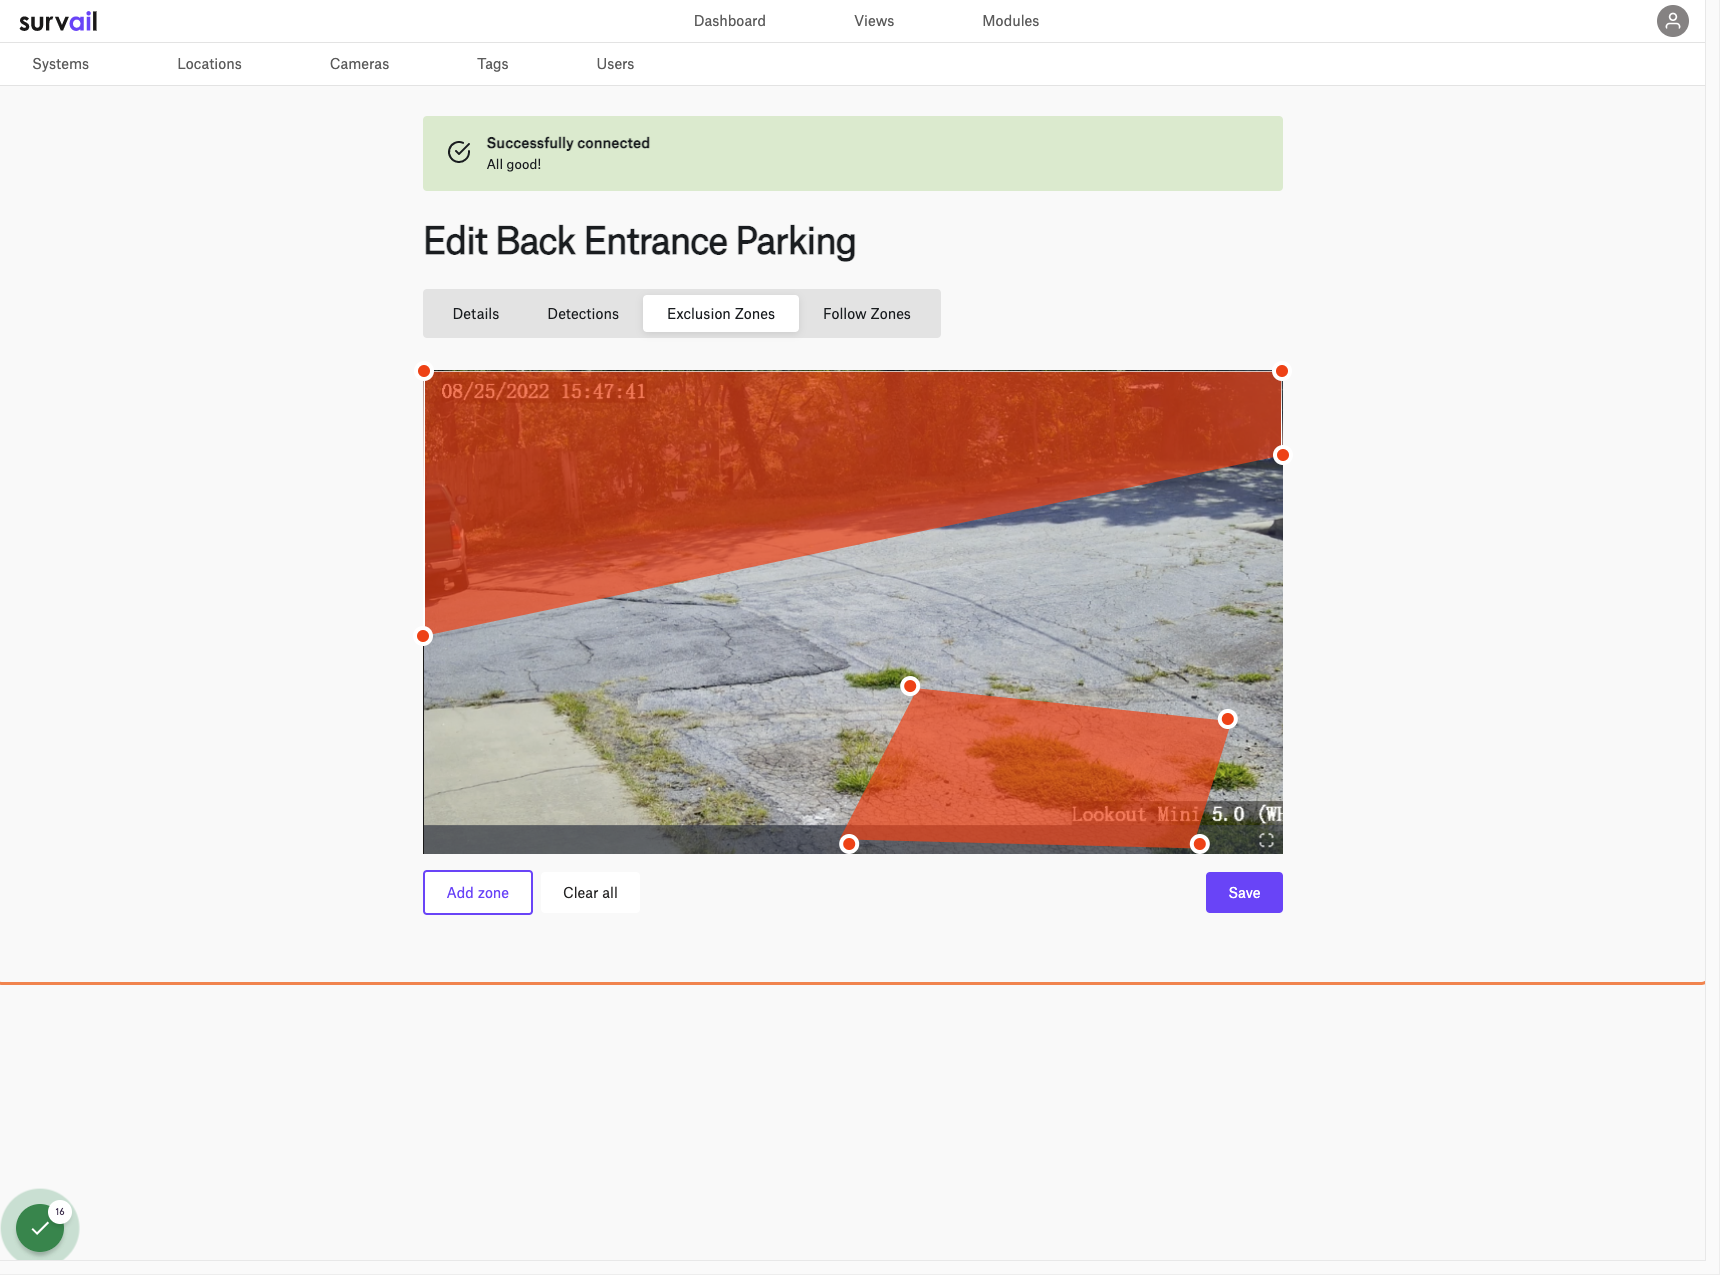
Result: Exclusion and Camera Nav Zones
Screenshots are also used as background of the drawable areas in the Exclusion zone and Camera Navigation Zones, so that you can draw those areas in the best locations.
