How to Create A Follow Zone in Survail
Follow Zones allow users to easily navigate around a property in real time.
Navigating around a Property Even if You've Never Been There
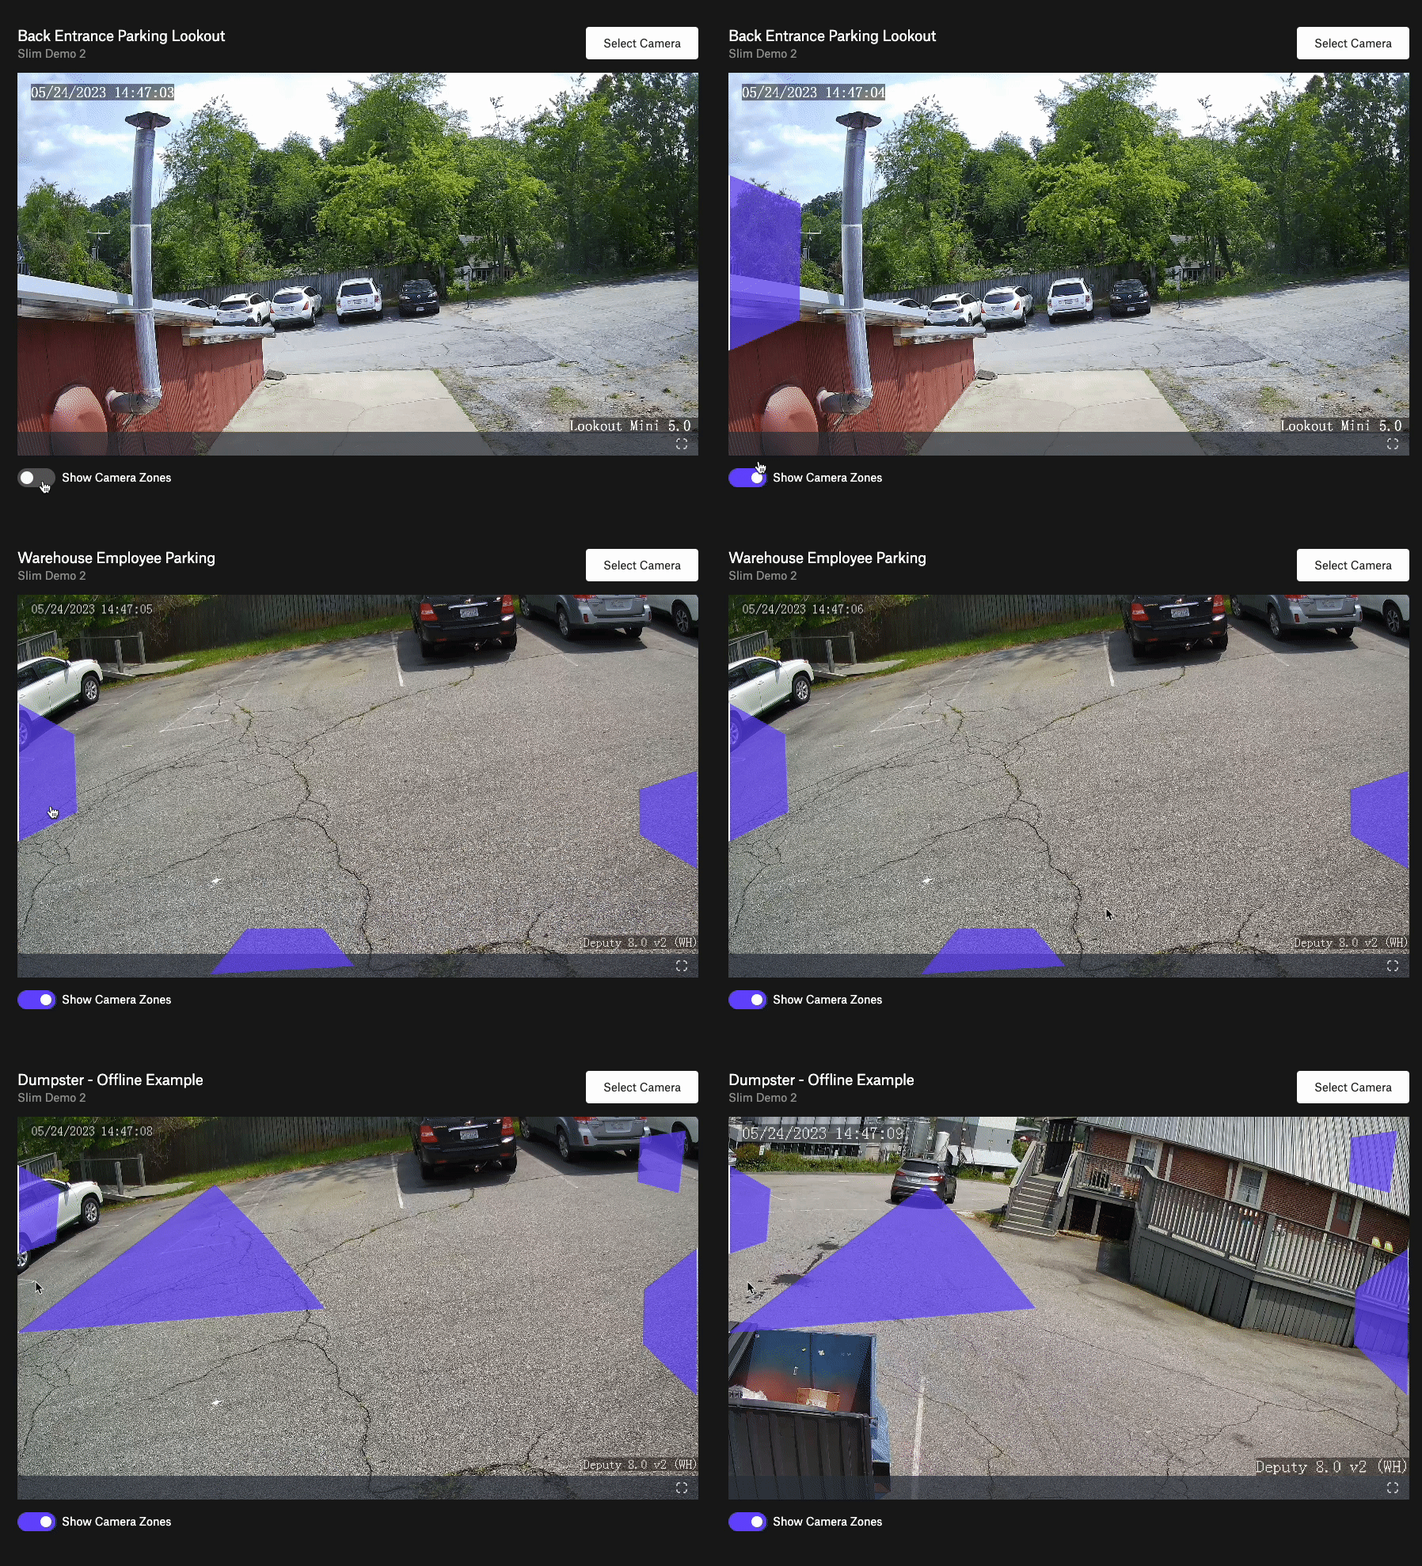
Follow Zone Experience
Remote, multi-location, or inexperienced security guards often have difficulty remembering what cameras can see where. This can make following a target difficult. With Follow zones, you can remove a user's uncertainty on what to click next to follow a subject around a property.
Follow zones are clickable areas that exist on a layer on top of video feeds that can take you to another camera view.
How to Create a Follow Zone
Log In To Survail
You can log into Survail at https://app.survail.com/.

Click the User Icon and then "Config"
At the top right side of the screen, you can see the user icon. After clicking on the user icon, you can choose to edit settings by clicking "Config". This will lead you to the "Camera Settings" page within the Config submenu.
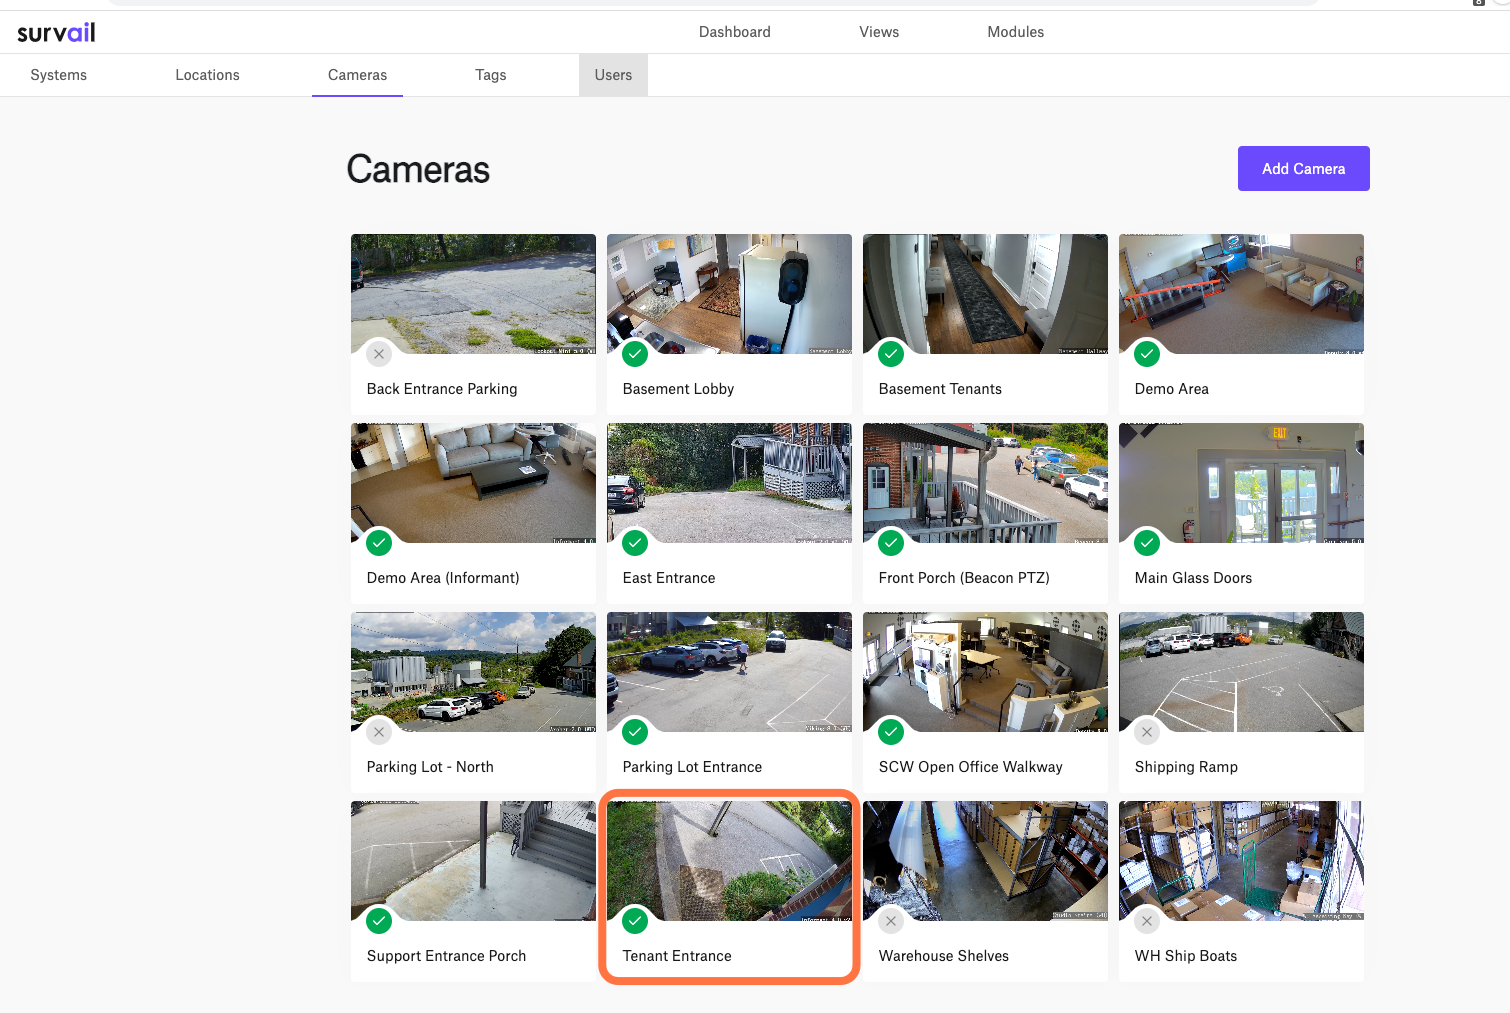
Click on a Camera Card
The entire card is clickable and takes your to that camera's settings detail page. If you are logged out after clicking this, your user account is not allowed to view or edit settings.
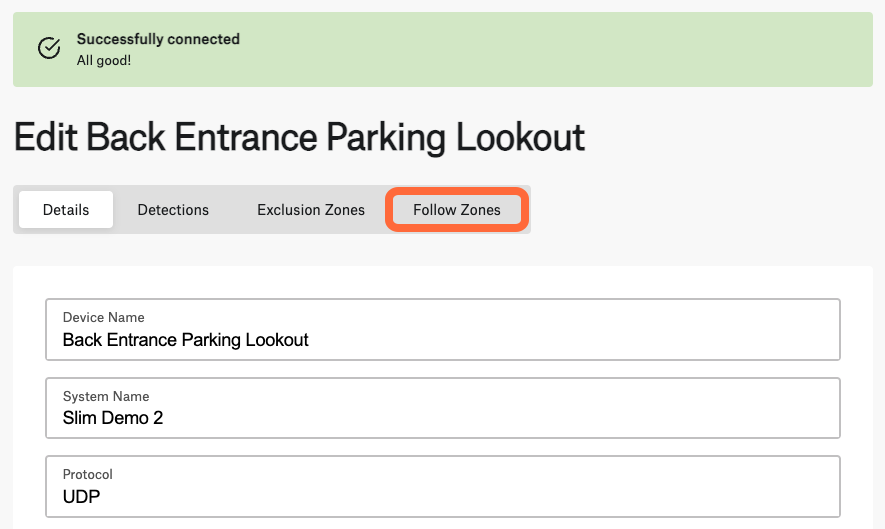
Click the Follow Zones Tab
On the camera's settings detail page, you want to locate the follow zones tab in grey above the camera details section.
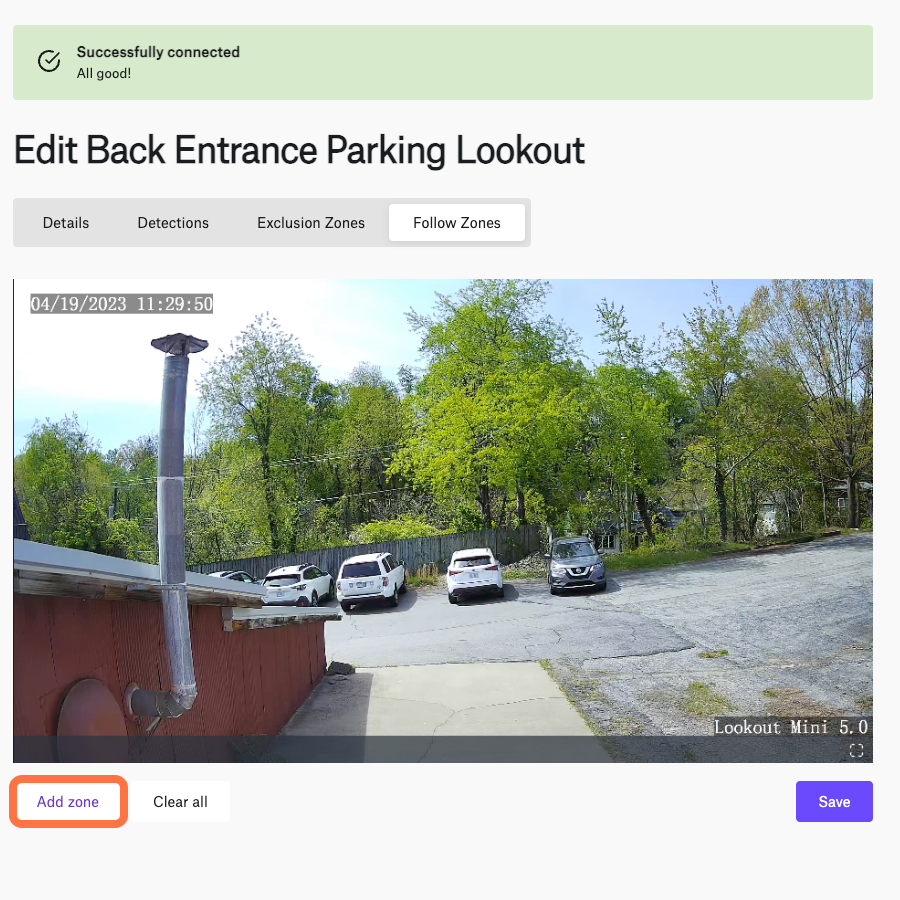
Click "Add Zone"
This will open a "select camera" modal that allows you to choose your camera destination. You can have multiple camera zones on each camera. Ideally, these represent the possible directions that someone in these feeds can move.
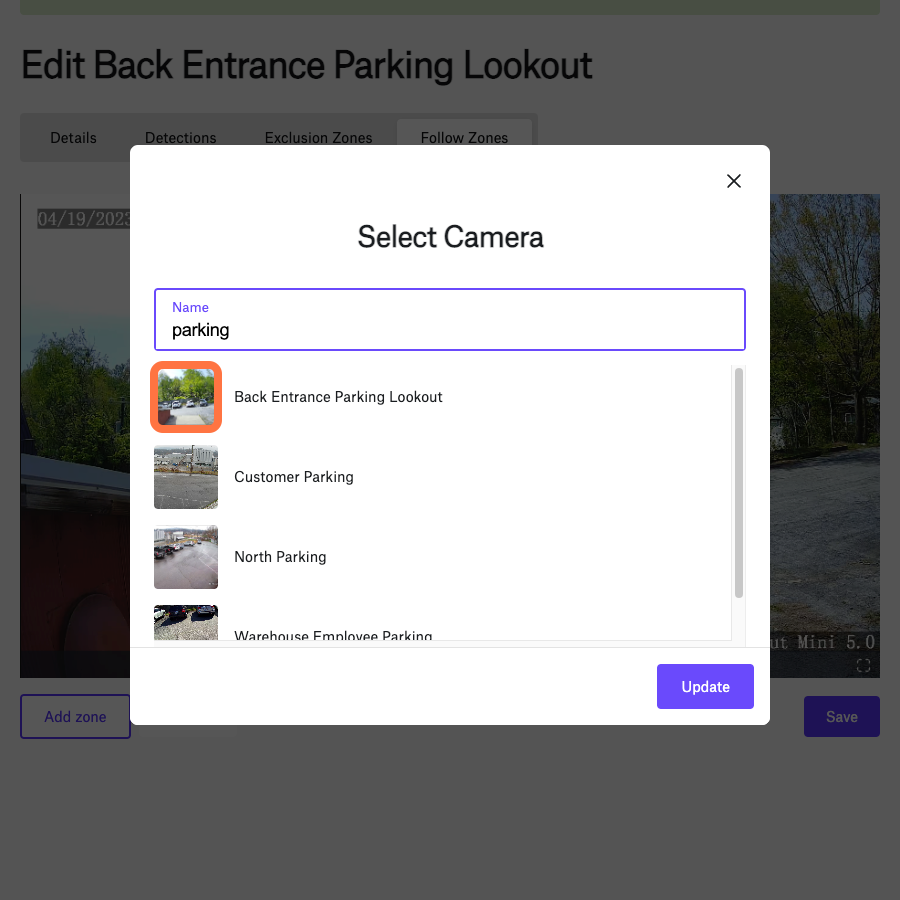
Define Destination
Choose which camera you want to user to navigate to if they click on this follow zone. This will add a square zone in the upper right section of the video feed.
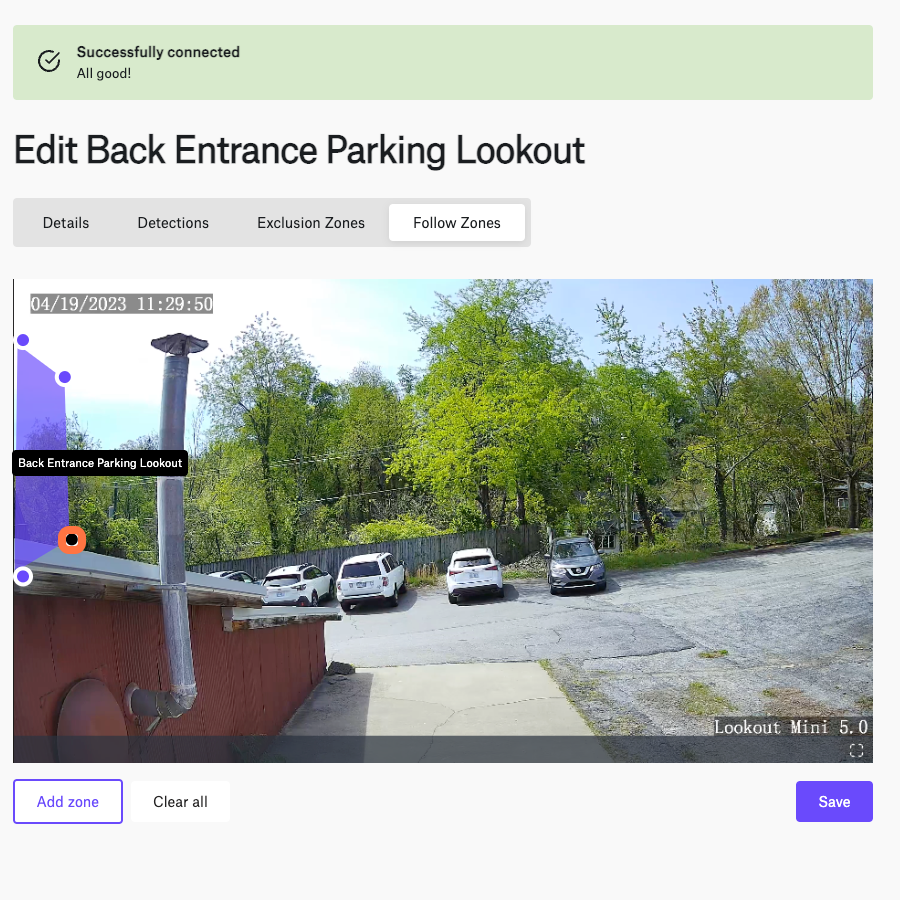
Drag Nodes to Draw Camera Zone
Select the nodes at the edges of each corner to move the zone to the appropriate placement.
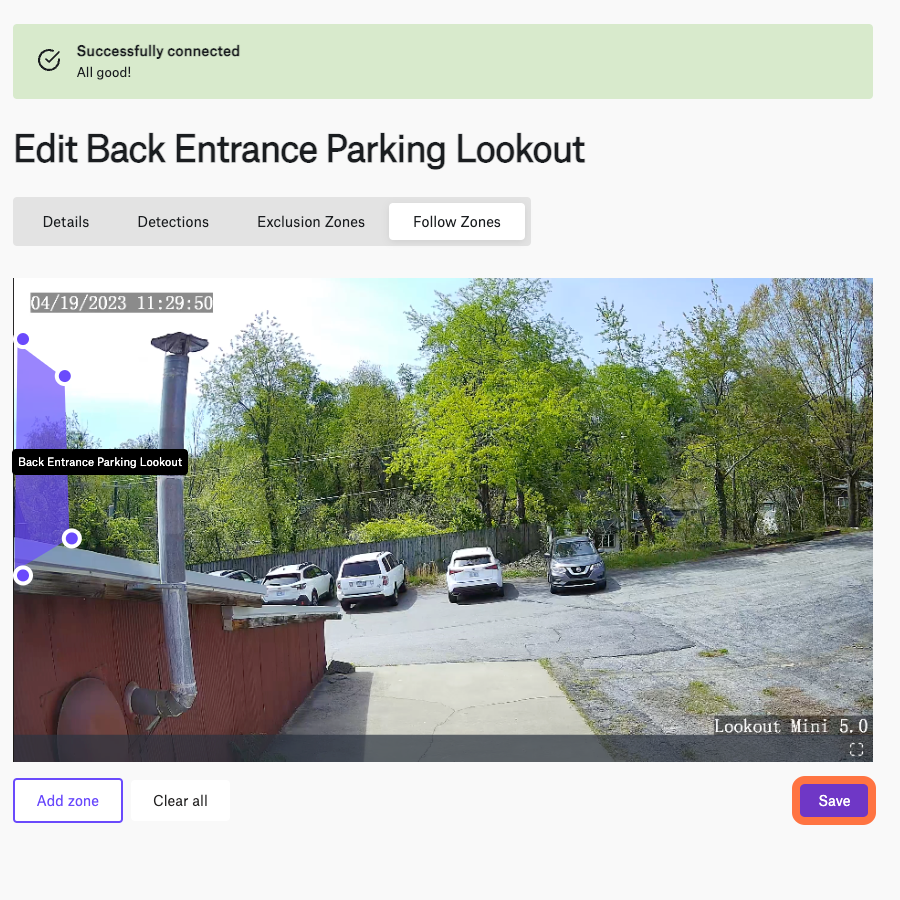
Save Zone
Make sure to click "save" to save your work. You should now be able to see the camera zone in the camera live view, assuming you turn on the follow zones in the live viewer.
