Reviewing 24/7 Footage in Survail
Reviewing a timeline of 24/7 Footage is easy with Survail.
Log In To Survail
You can log into Survail at https://app.survail.com/.
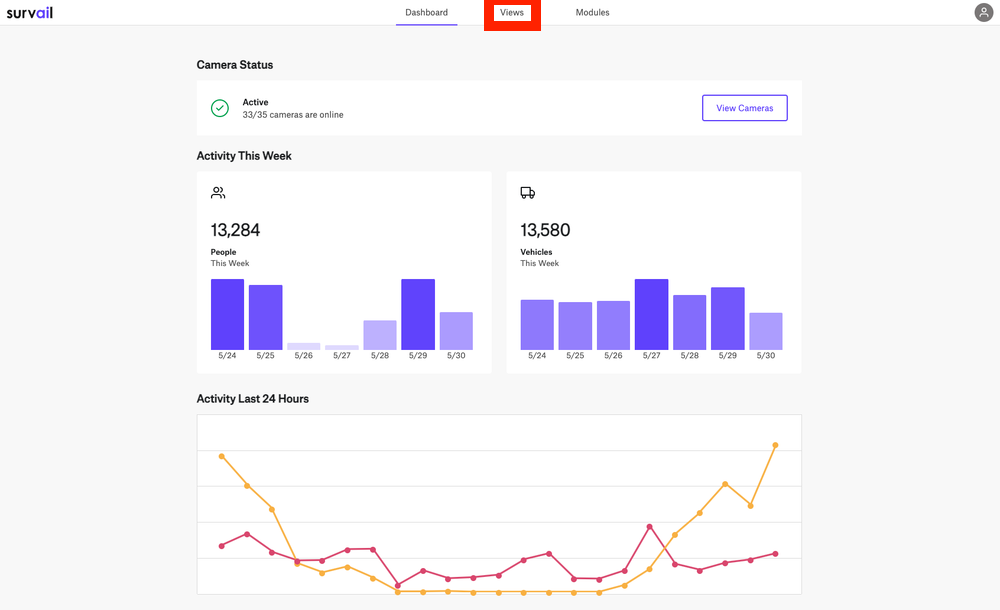
Click on "Views" in the Top Menu
At the top of the screen, you can see the main Survail Menu. Click on the "Views" Tab. This will lead you to the Events page.
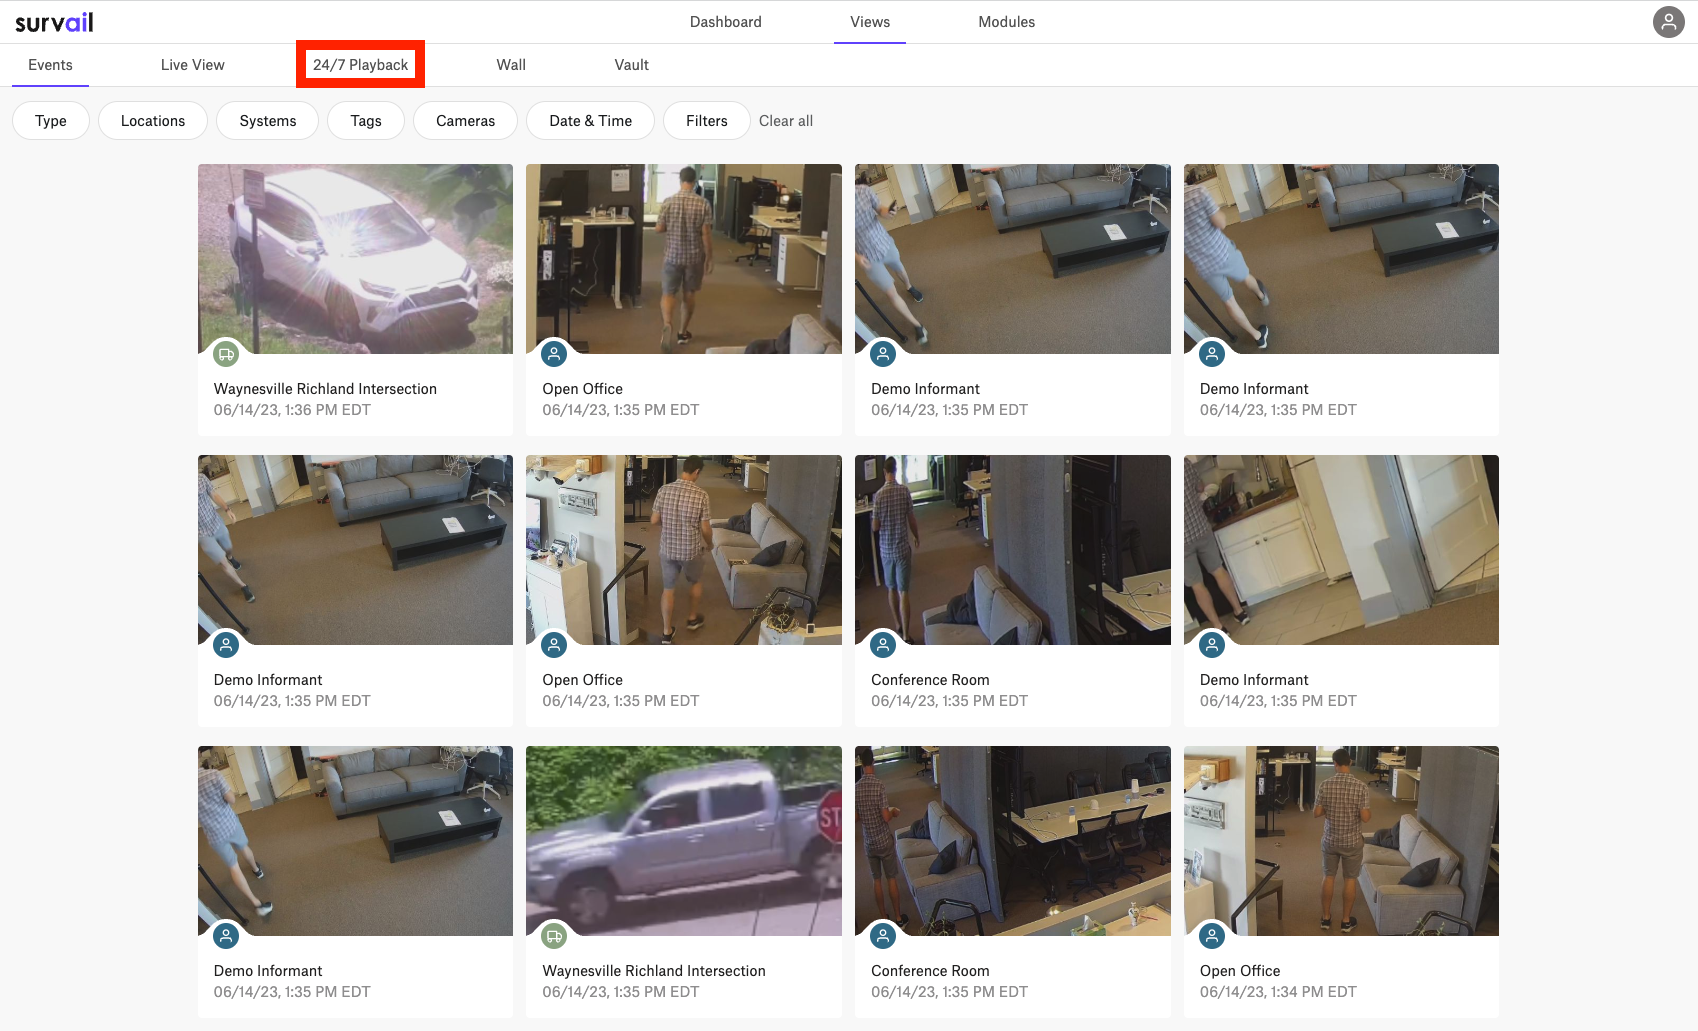
Click on "24/7 Playback"
You'll want to navigate to the "24/7 Playback" tab in the View Sub Menu.
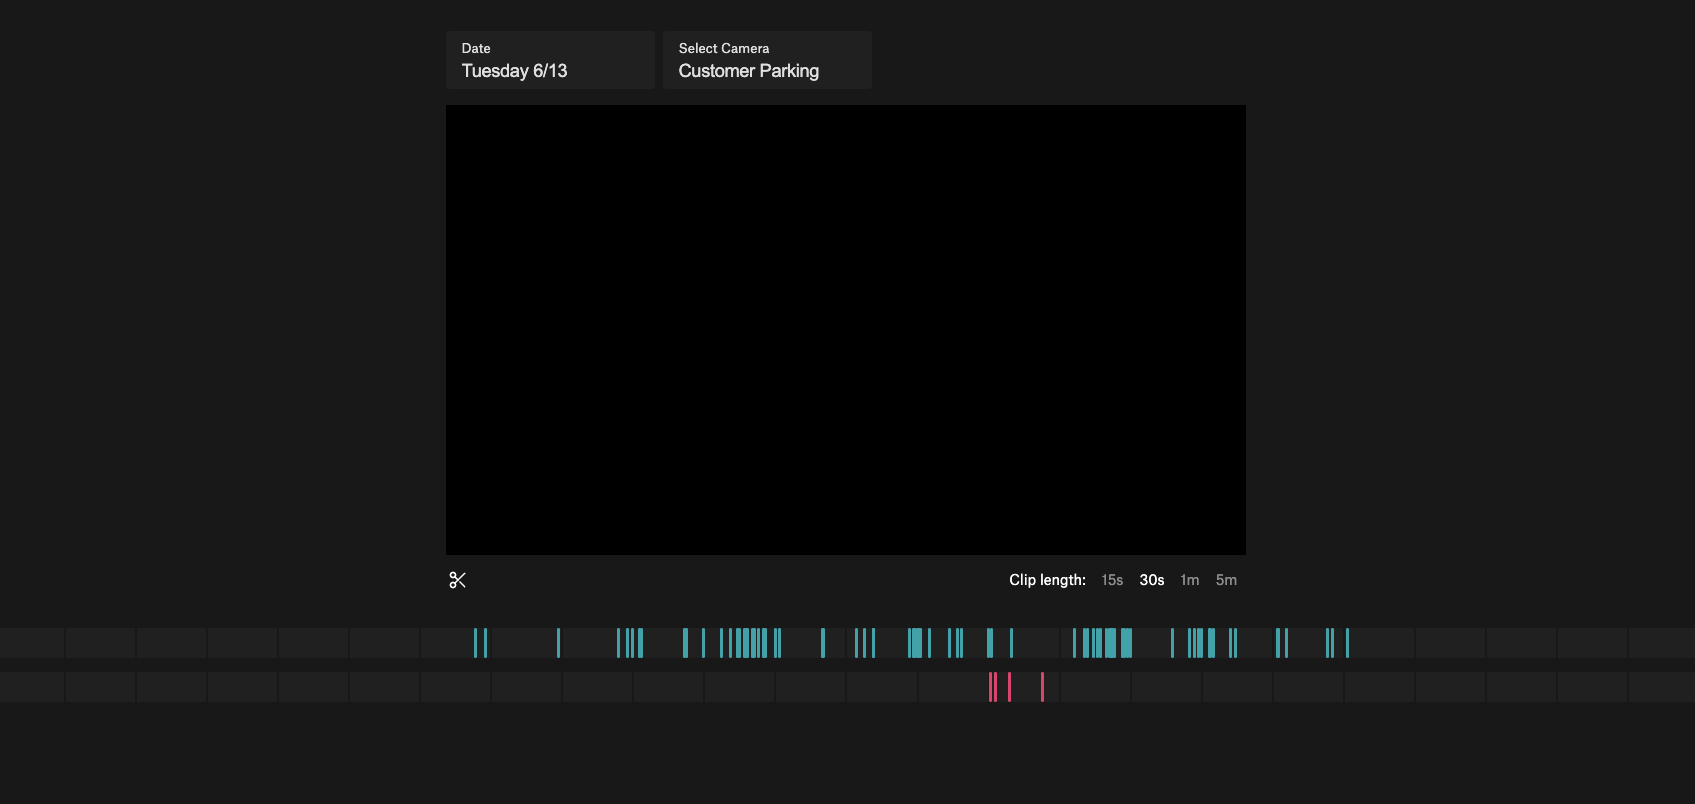
Arrive at the 24/7 Playback Page
You'll want to notice the date picker and camera picker at the top and the people / vehicle event snapshots at the bottom.
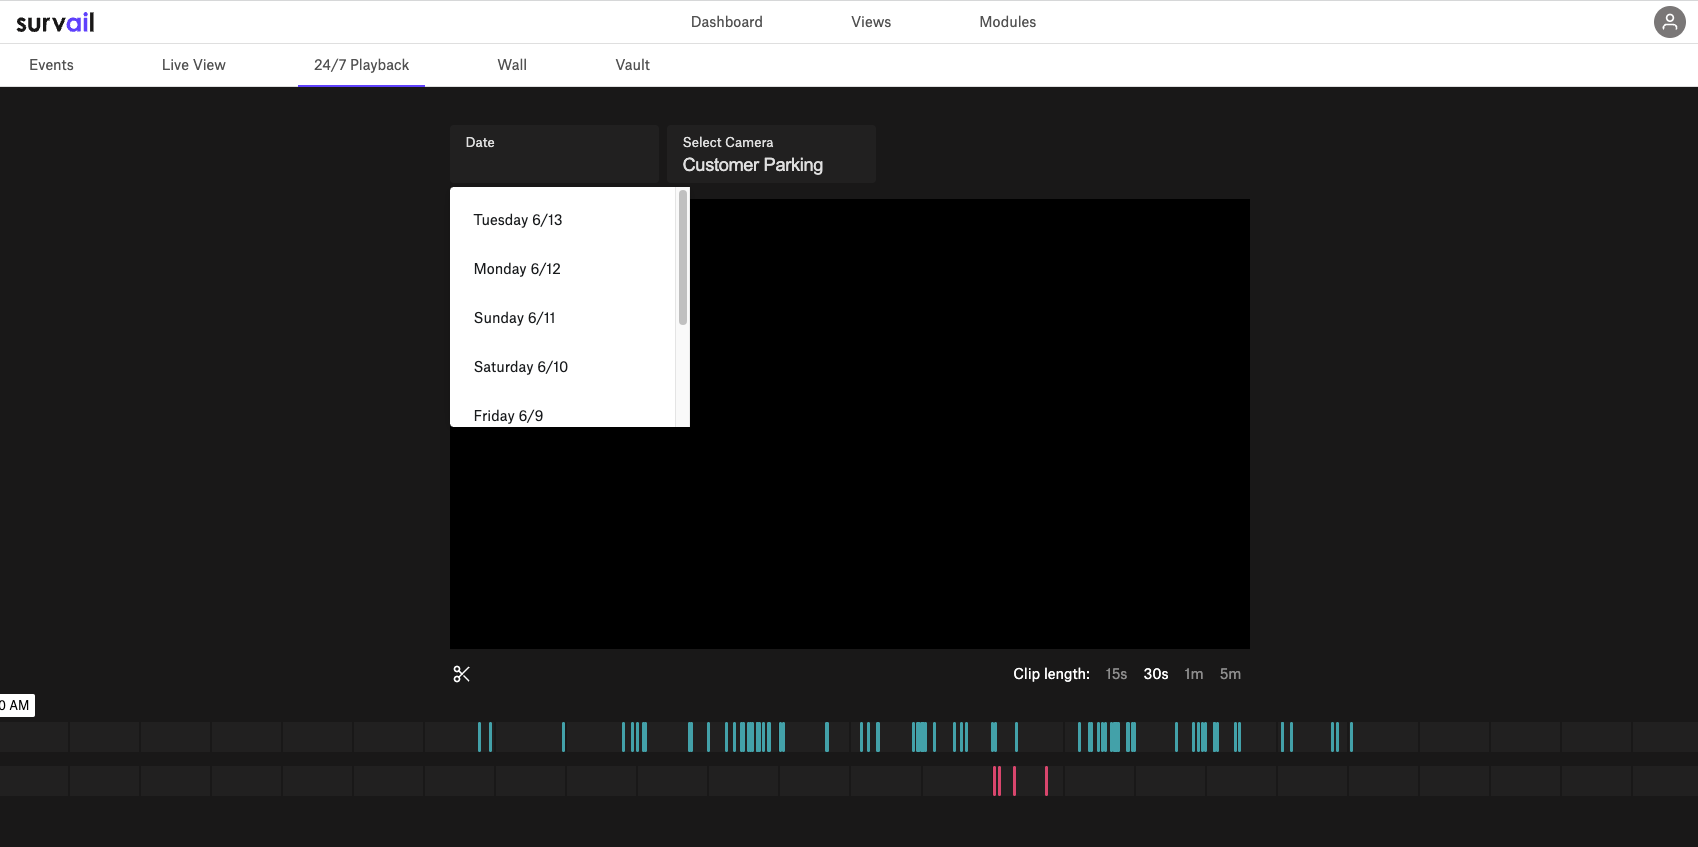
Choose the Date
On the top left, you can choose the date.
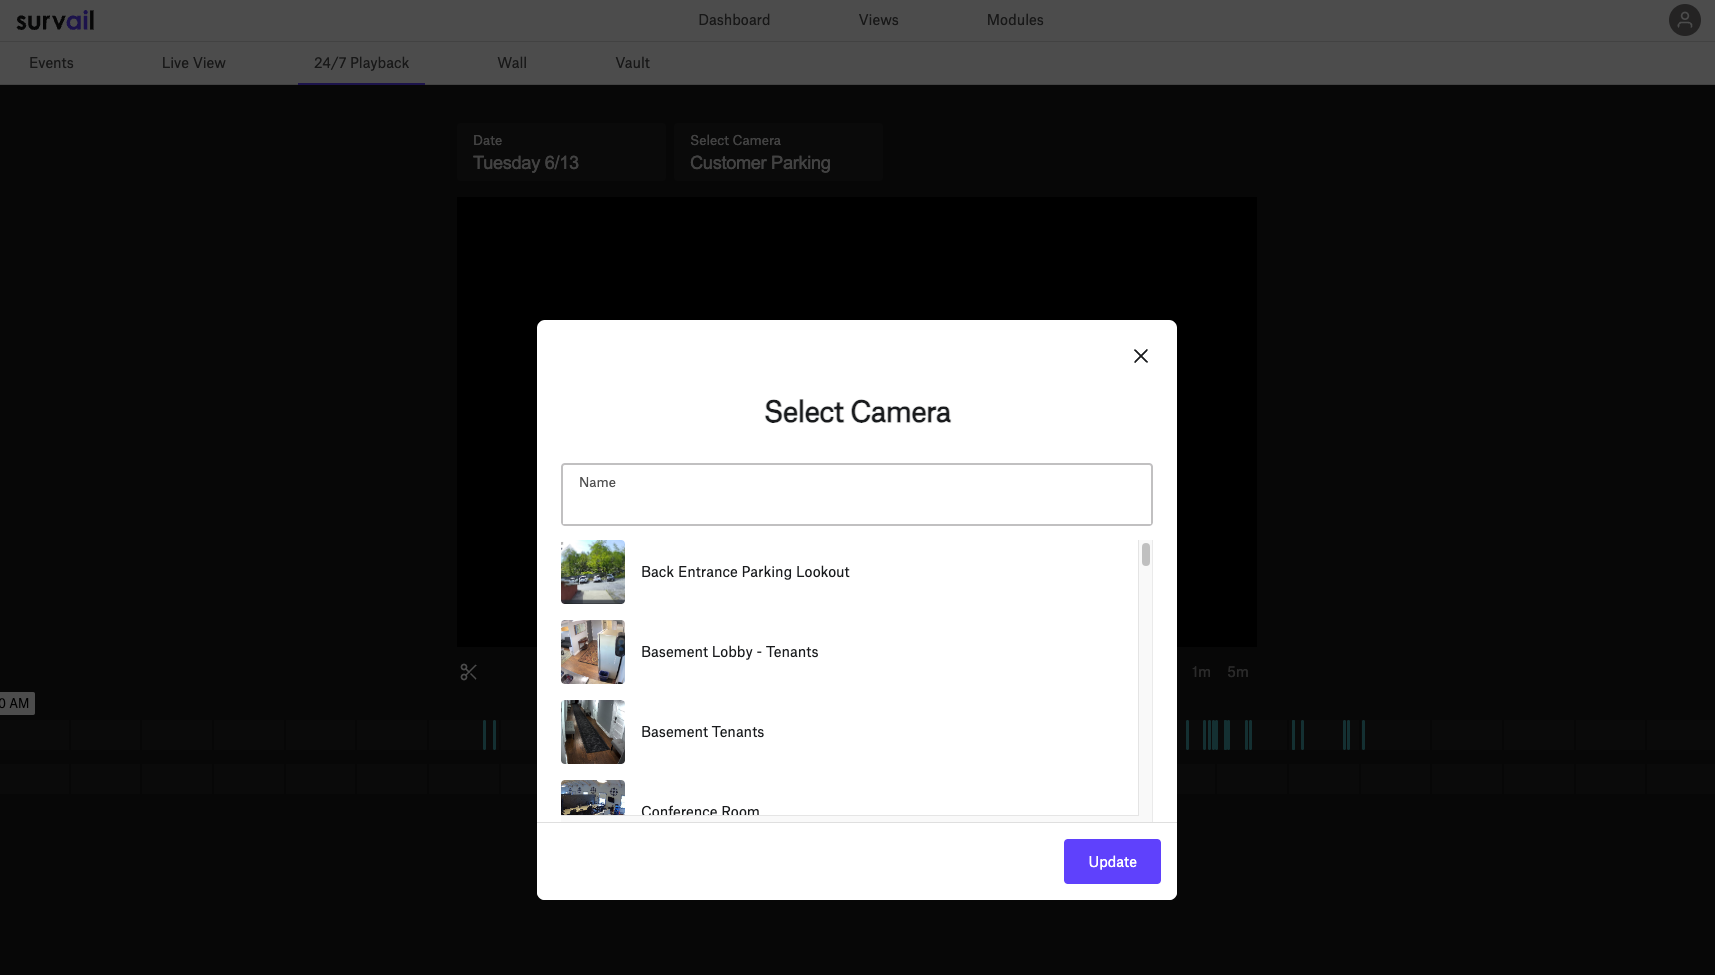
Select the Camera
Directly to the right of the date selector, you can view the camera selector, which will open the select camera modal.
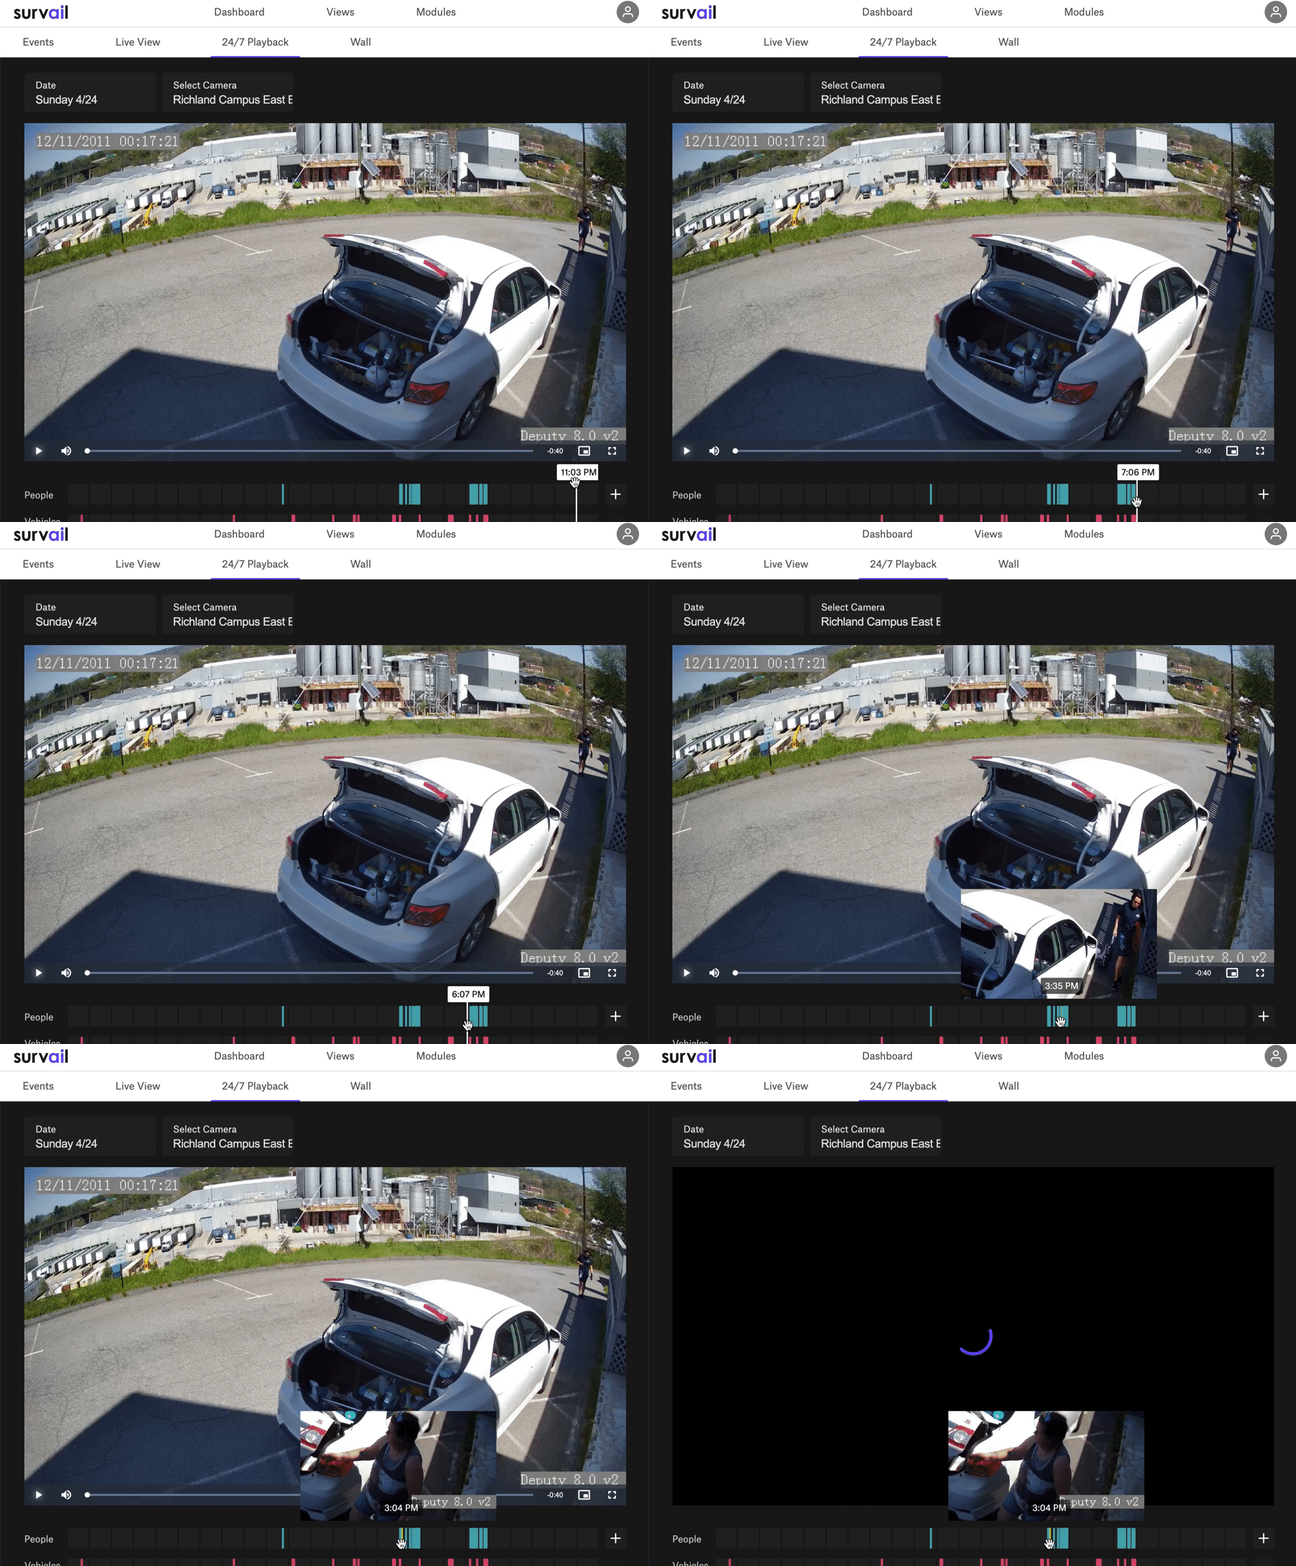
Scroll Over Events in the Timeline
The easiest way to find what you are looking for is to scroll over the 24/7 event timeline at the bottom. Events with people in them will be flagged as green and events with Vehicles will be tagged in red. Scrolling over these events will show you a image of the person / vehicle detected by survail.
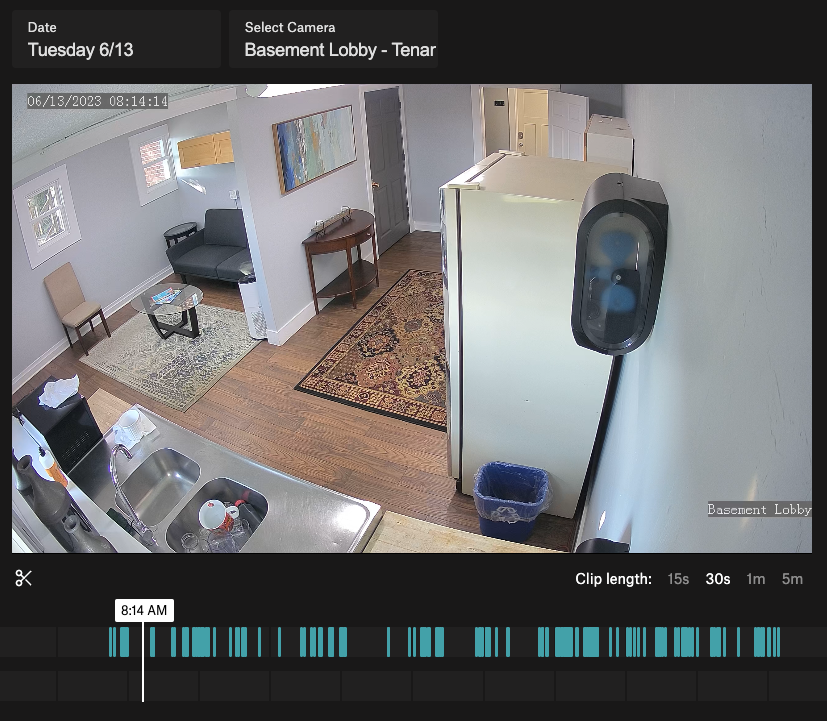
Click the Timeline Bar to play video
Clicking anywhere on the timeline (even if there's no event) will play video from that timestamp.
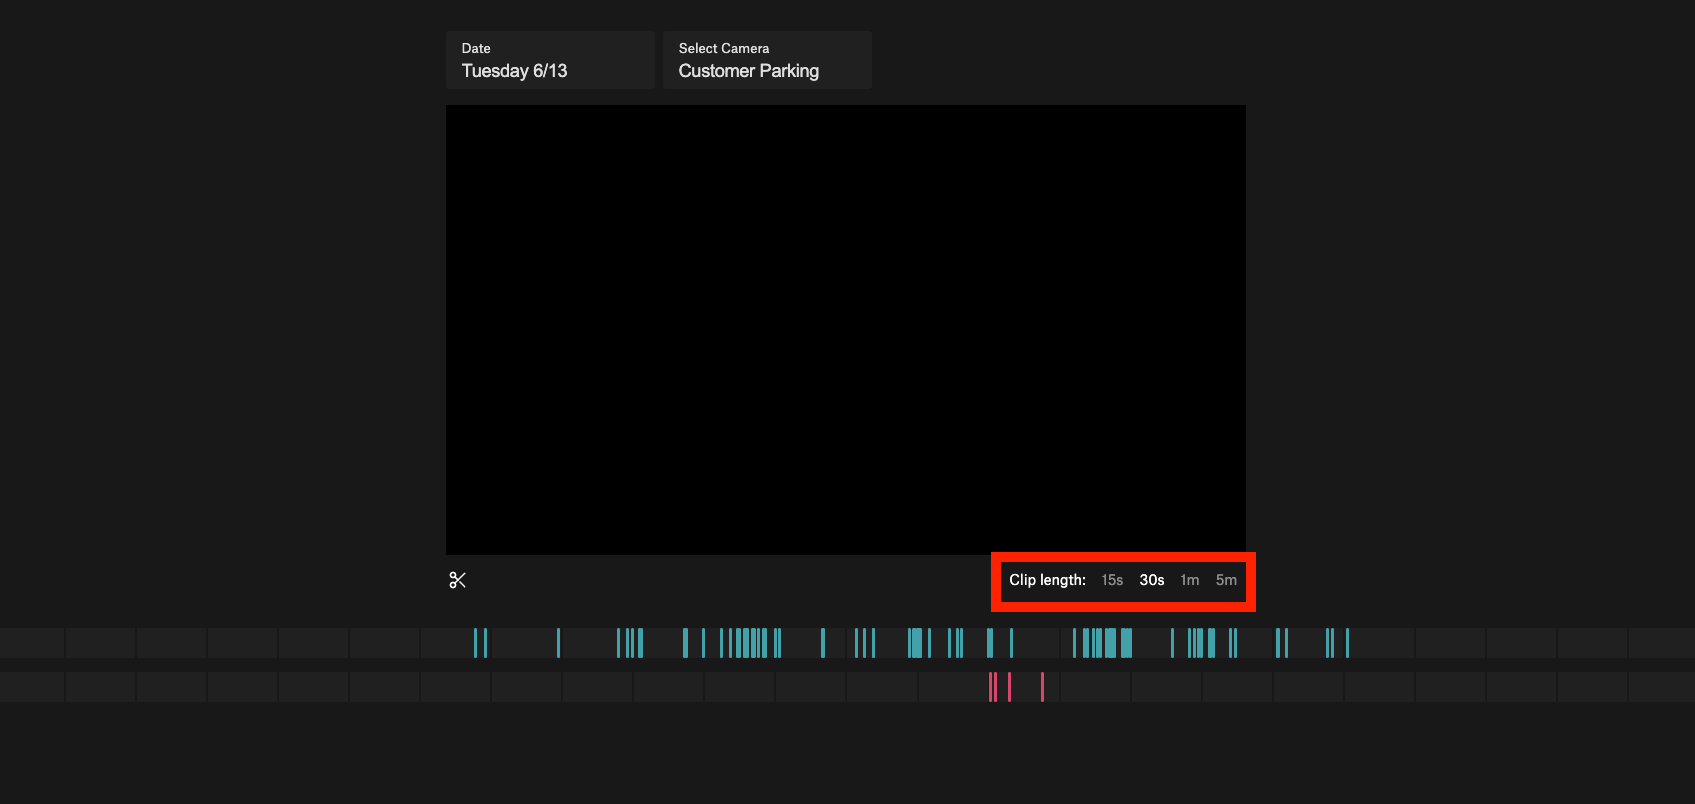
Optional: change video playback length
If you want to play more or less than 30 seconds at a time, make a different selection on the clip length selector.
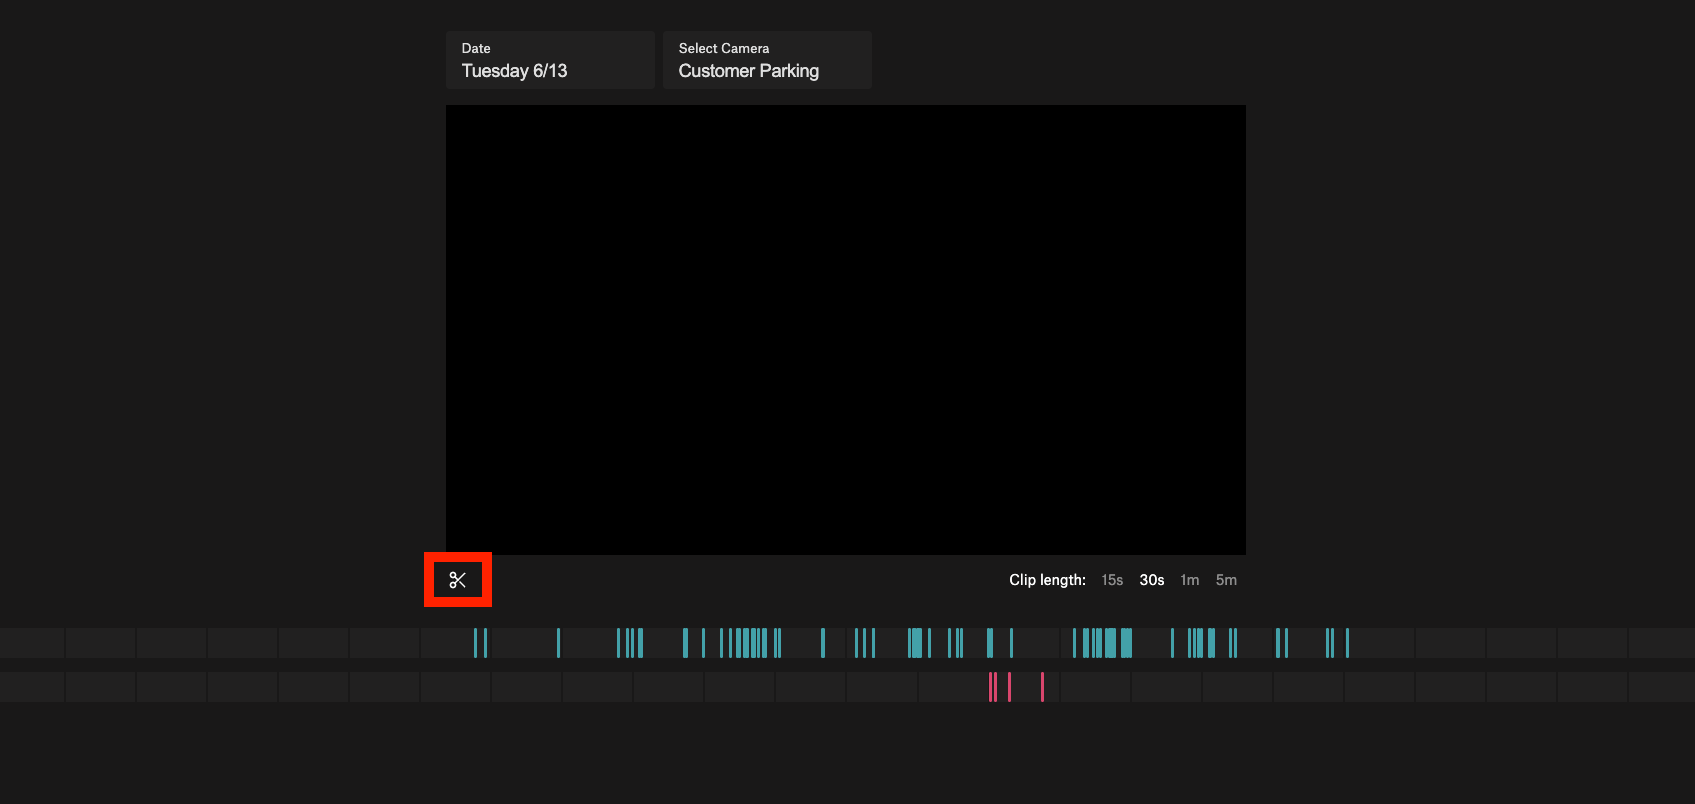
Optional: Cut Footage for Vault
If some section of video strikes you as worth downloading or retaining in vault, you will want to click the scissors icon.
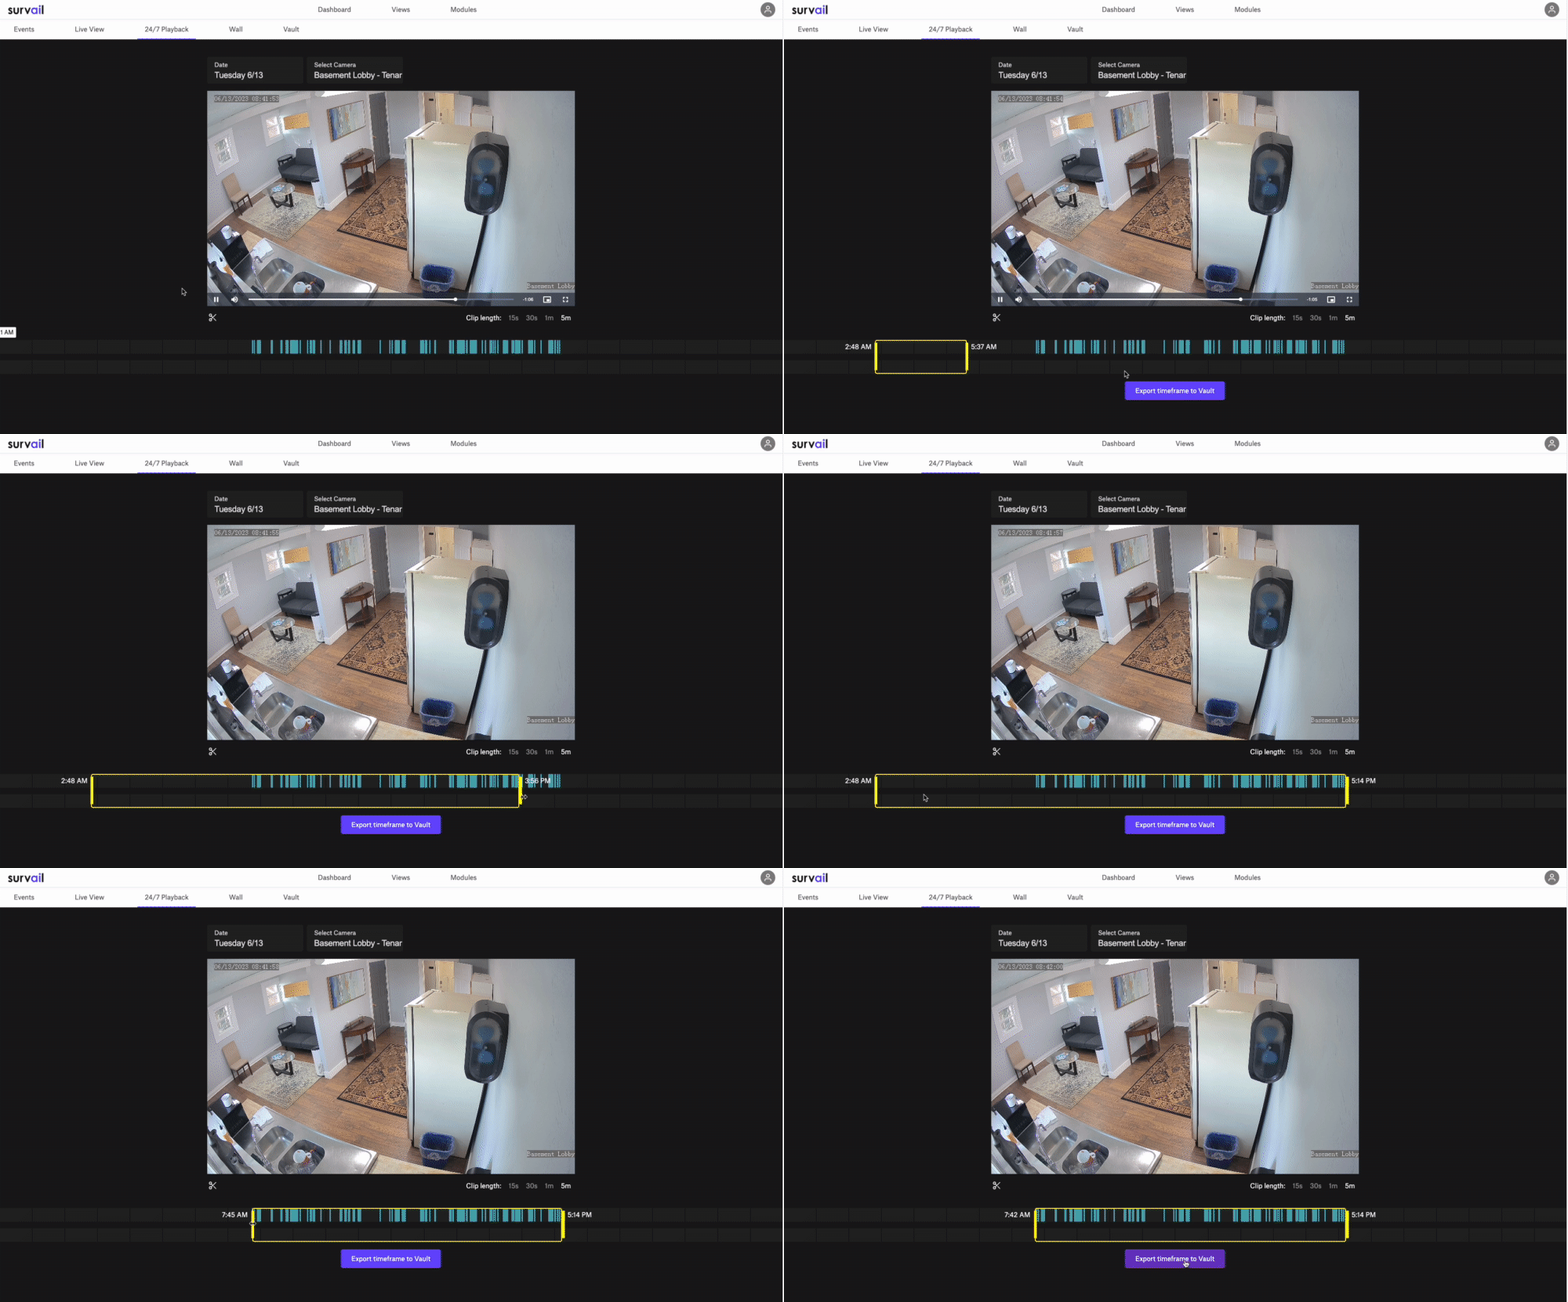
Choose What Section of the Timeline to Export to Vault
Choose the beginning and end points to export to vault. Generally, you will export security events to vault from the event view and supporting documentation from the 24/7 timeline export to vault option. This is covered in our "creating an Incident report and adding video to vault" guide.
